If you’re looking to give your home a clean, minimalist touch, floating shelves are one of the easiest and most stylish upgrades you can make. These sleek shelves create the illusion of hovering on the wall — no bulky brackets, no visible hardware, just seamless modern beauty. Whether you want to display books, plants, or decor, this guide will help you install floating shelves like a pro.
Why Floating Shelves Are the Perfect Modern Touch
Floating shelves are the secret weapon of interior designers. They’re versatile, space-saving, and aesthetically timeless. Whether your home leans minimalist, boho, or industrial, floating shelves add a layer of functionality and sophistication.
Here’s why people love them:
- They make small spaces feel larger.
- They turn plain walls into statement features.
- They’re perfect for displaying collectibles or plants.
- They’re easier to clean and maintain than traditional shelves.
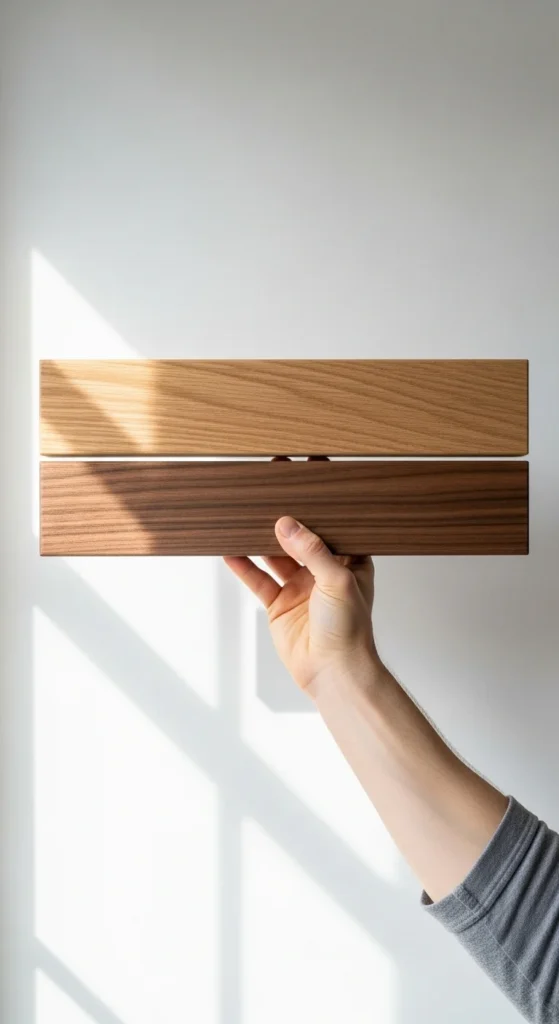
Step 1: Choose the Right Shelves for Your Space
Before you start drilling, think about where and what you’ll display. Floating shelves come in various materials, from rustic wood to glossy acrylic or matte metal. Match your shelf style to your room’s theme.
Here’s how to decide:
- Wood: Warm and natural — ideal for cozy living rooms or kitchens.
- Glass: Perfect for bathrooms or modern minimalist decor.
- Metal: Great for industrial-style spaces or offices.
Also, check the weight capacity. If you plan to place books or heavy decor, choose shelves with a sturdy internal bracket system.
Step 2: Measure and Mark Like a Pro
Precision is key! Uneven shelves can ruin your modern look, so take a few minutes to measure carefully.
You’ll need:
- Measuring tape
- Pencil
- Level
- Stud finder
Steps:
- Decide on the shelf height and spacing — aim for even alignment if installing multiple.
- Use a stud finder to locate studs in the wall for added support.
- Mark drilling points lightly with a pencil.
- Double-check your markings with a level before drilling.
Pro Tip: Leave about 10–15 inches between shelves to ensure balanced spacing for decor.

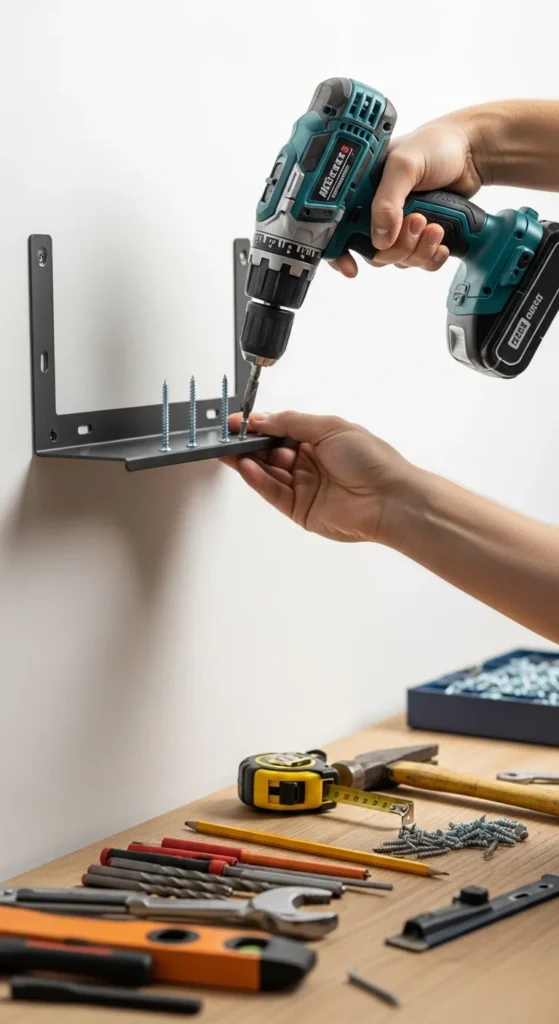
Step 3: Install the Bracket System
The magic of floating shelves lies in their hidden support system — a sturdy metal or wooden bracket that anchors to the wall.
How to do it:
- Drill pilot holes where you marked earlier.
- Insert wall anchors if you’re not drilling directly into studs.
- Screw the bracket firmly into the wall.
- Tug gently to ensure it’s secure before moving on.
Take your time here — stability is essential, especially if you plan to display heavy items like books or framed art.
Step 4: Mount and Level the Shelf
Once your bracket is secure, it’s time for the fun part — sliding the shelf onto the supports. You’ll feel it click or fit snugly in place.
Tips for a professional finish:
- Use a level again after mounting to make sure it’s straight.
- If the shelf tilts slightly, adjust the screws or anchors until it’s perfectly aligned.
- Wipe away any pencil marks or dust before decorating.
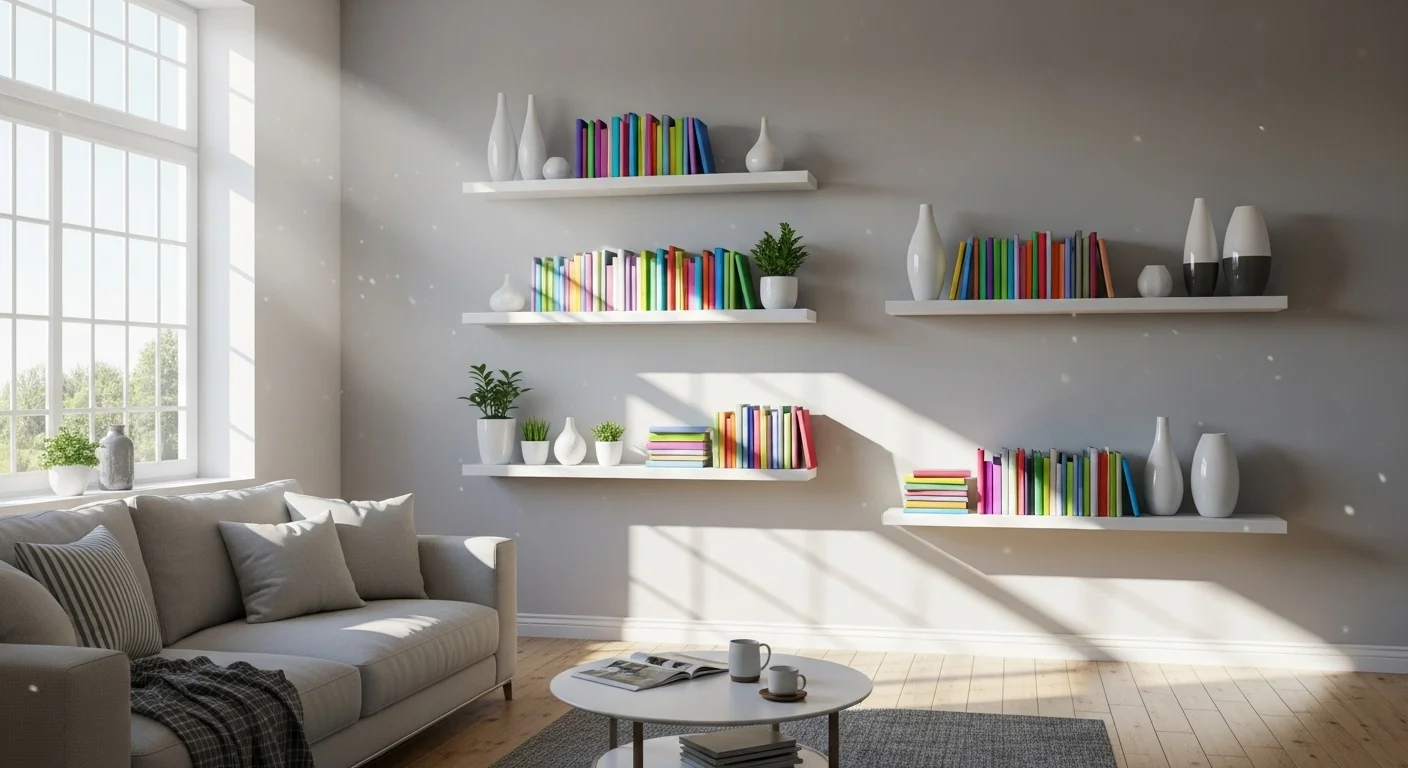
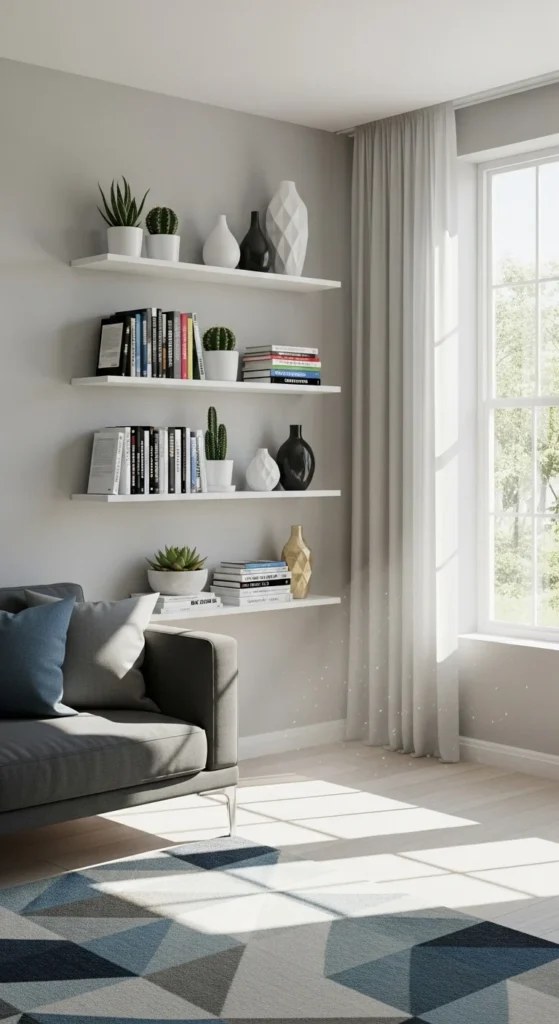
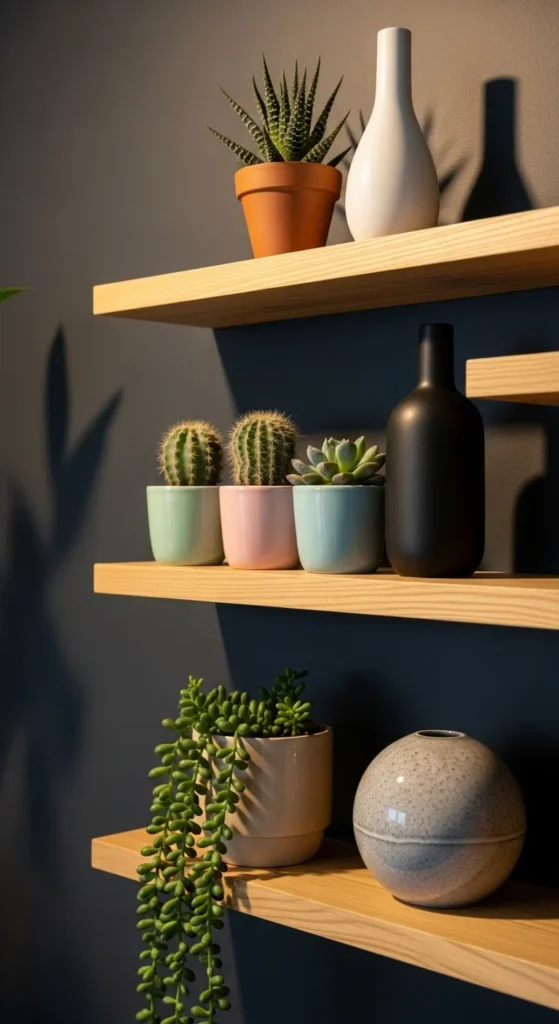
Step 5: Style Your Floating Shelves Like a Designer
Now that your shelves are up, it’s time to make them shine! Styling floating shelves is all about balance and visual rhythm.
Here are a few quick ideas:
- Mix heights and textures: Combine books, vases, plants, and art for variety.
- Leave breathing room: Don’t overcrowd — negative space keeps the design airy.
- Layer items: Place smaller pieces in front of larger ones for depth.
- Add greenery: Small succulents or trailing plants bring life to the space.
Example styling combo:
- A stack of books with a candle on top
- A framed photo leaning casually
- A small potted plant for a pop of green

Maintenance and Quick Fixes
Floating shelves are low maintenance, but a few habits will keep them looking perfect:
- Dust regularly with a microfiber cloth.
- Check screws every few months to ensure tightness.
- Avoid overloading beyond the shelf’s capacity.
- Repaint or reseal wooden shelves yearly if exposed to humidity.
If a shelf starts to sag, it’s often due to loose anchors — remove the shelf, reinforce with stronger wall anchors, and reinstall.
Final Touch: Modern Simplicity, Maximum Impact
Installing floating shelves is one of those small upgrades with huge impact. You’ll instantly elevate your space without breaking the bank — and enjoy a more functional, stylish wall that feels both modern and timeless.
So grab your drill and level — your dream minimalist wall is just a few steps away!
Save this guide for your next weekend DIY project!