New Year decorating doesn’t have to drain your wallet. With a few everyday items, some creativity, and a little time, you can bring cheerful energy into your home. This list gives you easy, practical ideas anyone can make at home. Each one focuses on simple materials, low-cost steps, and cozy results that feel personal and festive. Whether you’re hosting a gathering or refreshing your space for the new year, these ideas help you craft decorations that feel welcoming, stylish, and homemade.
1. DIY Glitter Star Garland
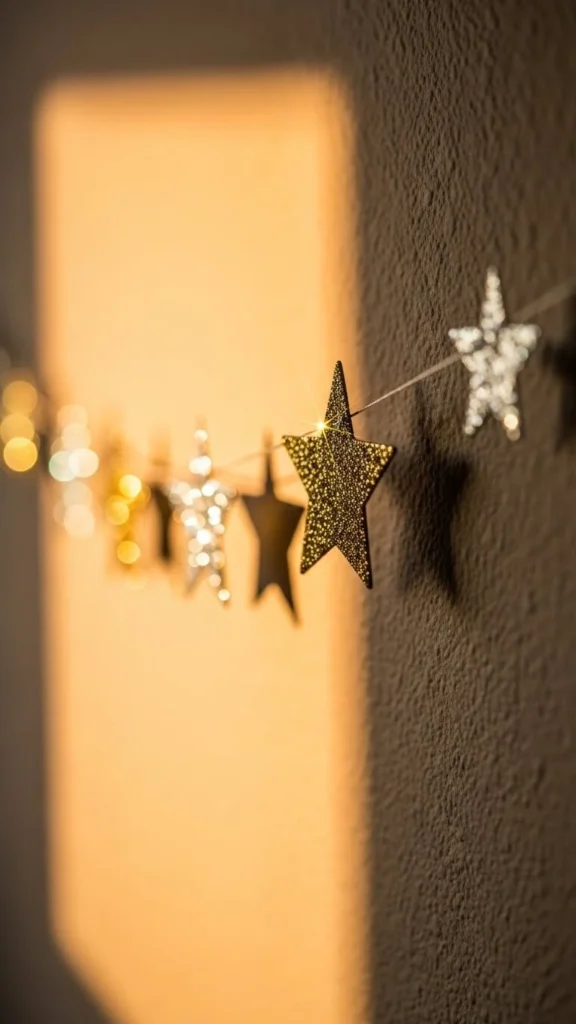
Creating a glitter star garland is a fun way to add sparkle without spending much. Grab cardstock, scissors, glue, and glitter. Trace star shapes in different sizes to keep things interesting. Cut them out and apply a thin layer of glue. Sprinkle glitter on top, then shake off the extra. Let them dry for a little while. Hole-punch each star and slide them onto string or twine. Hang your garland over a doorway, mantel, or window. To save money, reuse cardboard from packaging instead of buying new sheets. If you prefer less mess, use metallic wrapping paper or old gift bags instead of glitter. Mix gold, silver, and black tones for a New Year feel. You can make several strands and layer them for more visual impact. This craft works well for kids too since the steps are simple and forgiving. It’s a great way to fill empty wall space without buying expensive decor. If you want extra shine, tape small LED lights behind the stars. The soft glow ties the whole piece together.
2. Painted Mason Jar Lanterns
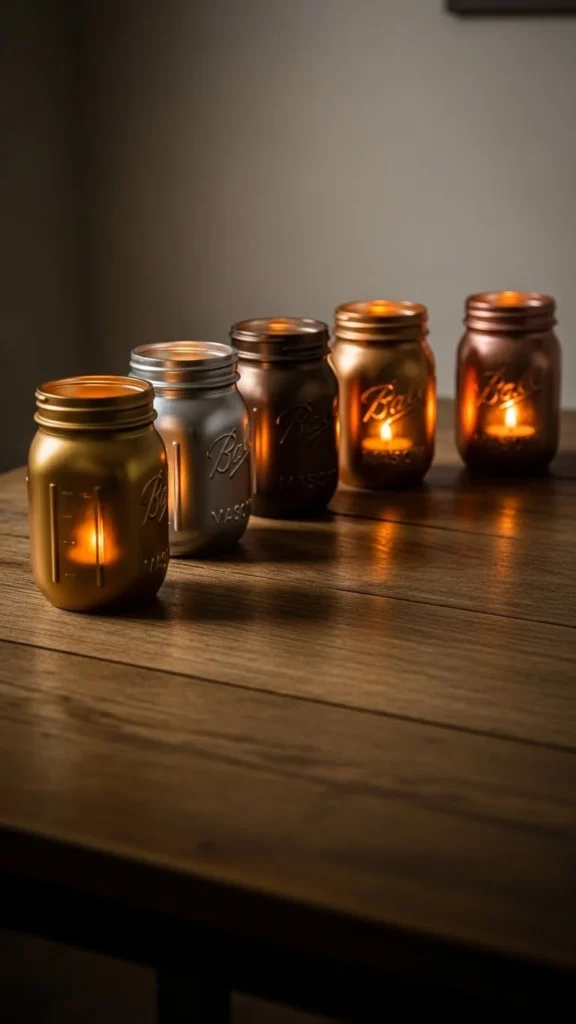
Painted mason jar lanterns bring warm light into your space. Start with clean jars. Use acrylic paint in gold, black, white, or any shades that match your setup. Brush the outside with light, uneven strokes to create a frosted effect. Once the paint dries, drop in battery-powered tea lights. These give off a gentle glow without heat or smoke. If you’re working on a tight budget, wash and reuse pasta sauce jars instead of buying new ones. Decorate the rims with twine or ribbon for a finished touch. You can also add stick-on stars or dots to the outside for a sparkly pattern. Place the jars along your entry table, fireplace mantel, or dinner setup. They instantly create a cozy atmosphere. Mix tall and short jars for balance. You can even group them on a tray with pine cones or faux greenery. These lanterns look great in the evening when the lights dim. They’re easy to pack away for next year or repurpose for other celebrations.
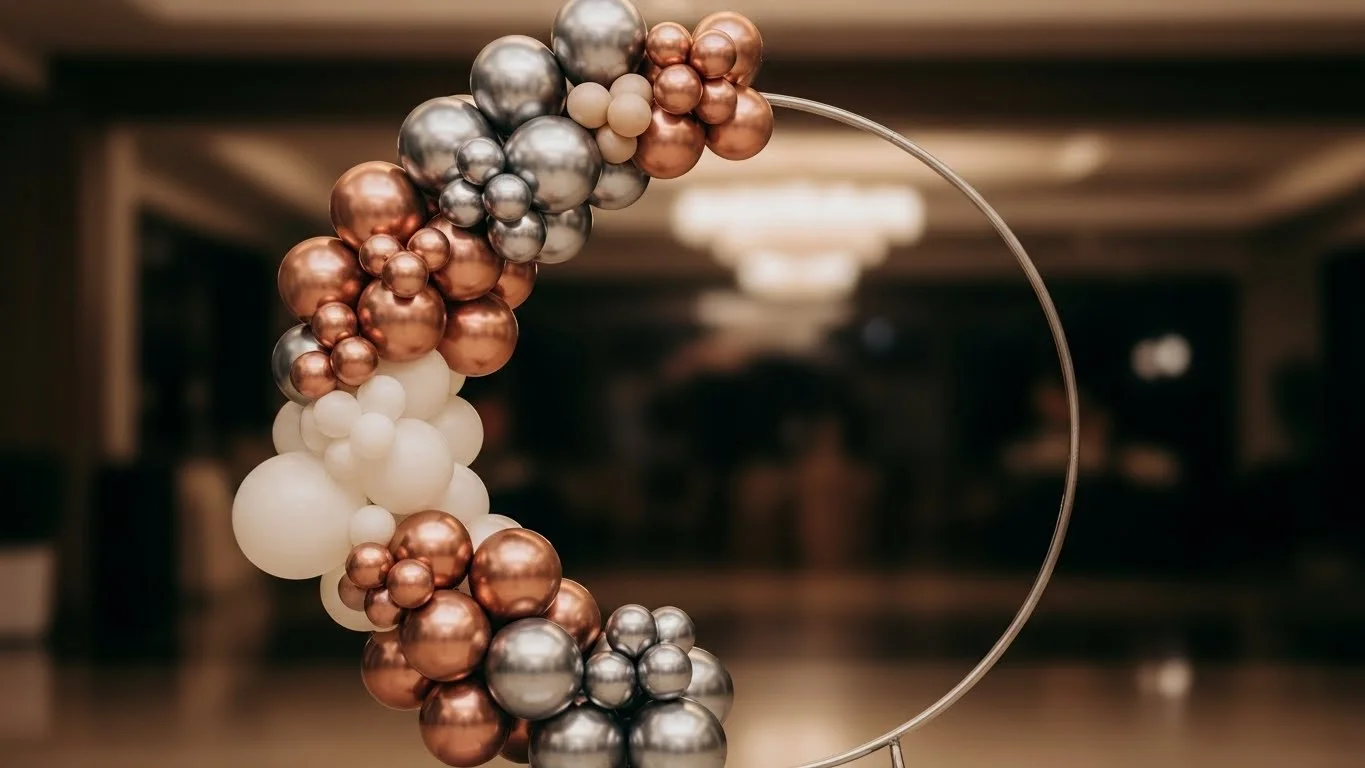
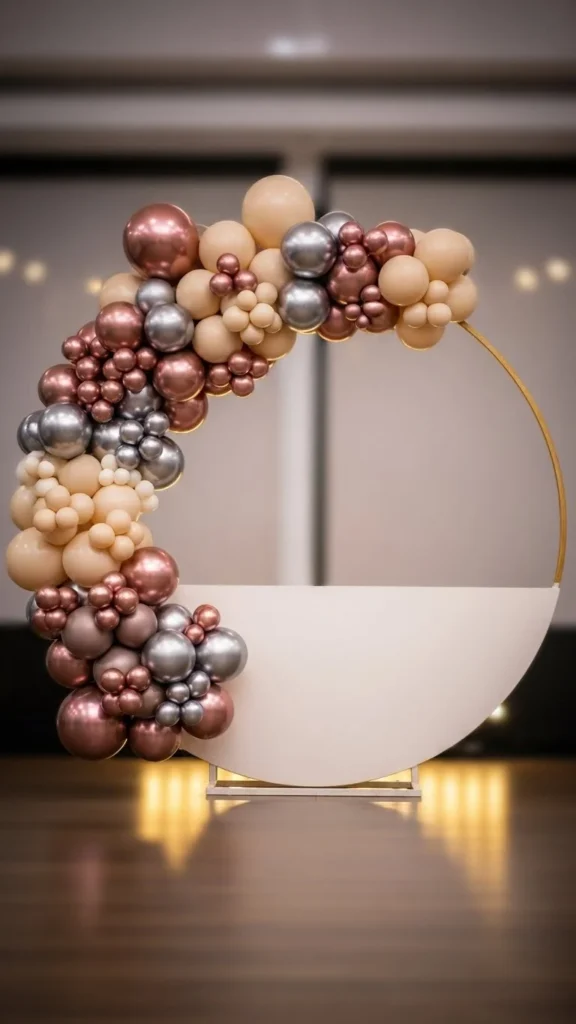
3. Confetti Balloon Clusters
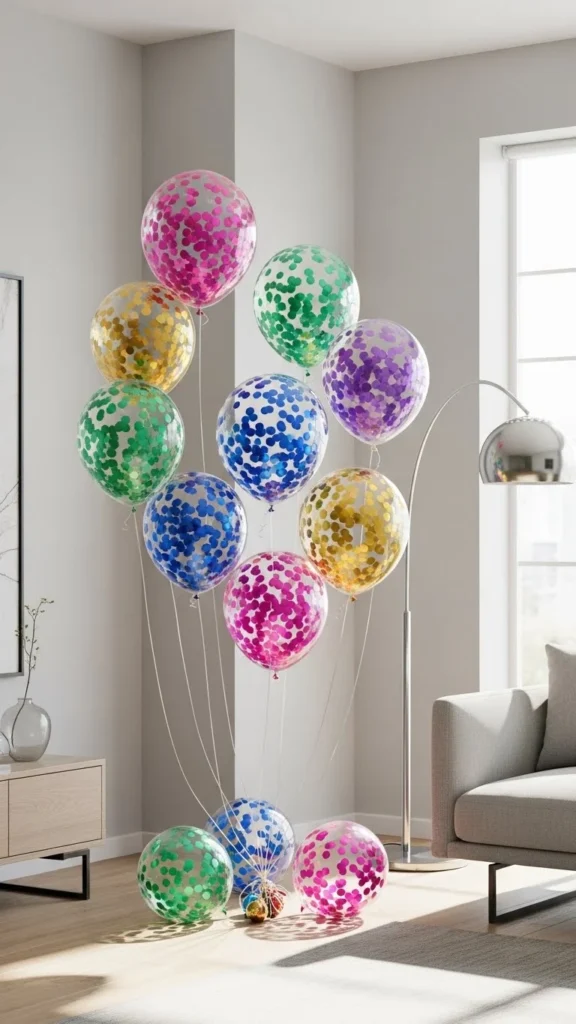
Confetti balloons bring a playful vibe to New Year’s decorating. Pick up a small bag of confetti and clear balloons. You can make your own confetti using scrap paper and a hole punch. Drop a handful into each balloon before inflating it. Shake the balloon to help the confetti spread out. Tie them together in clusters for a fuller look. You can tape them to the wall, place them near your entryway, or style them around your photo area. Use colors like silver, white, and light gold for a classic look. If you want something brighter, mix bold shades like blue and pink. This idea is inexpensive and takes only a few minutes. Adding ribbon tails or strips of tissue paper gives each balloon more movement. Kids can help fill and shake the balloons for a fun prep activity. Confetti balloons also make great centerpieces when tied to small weights. The simple materials make this one of the easiest decorations to put together for New Year’s.
4. Paper Fan Wall Display
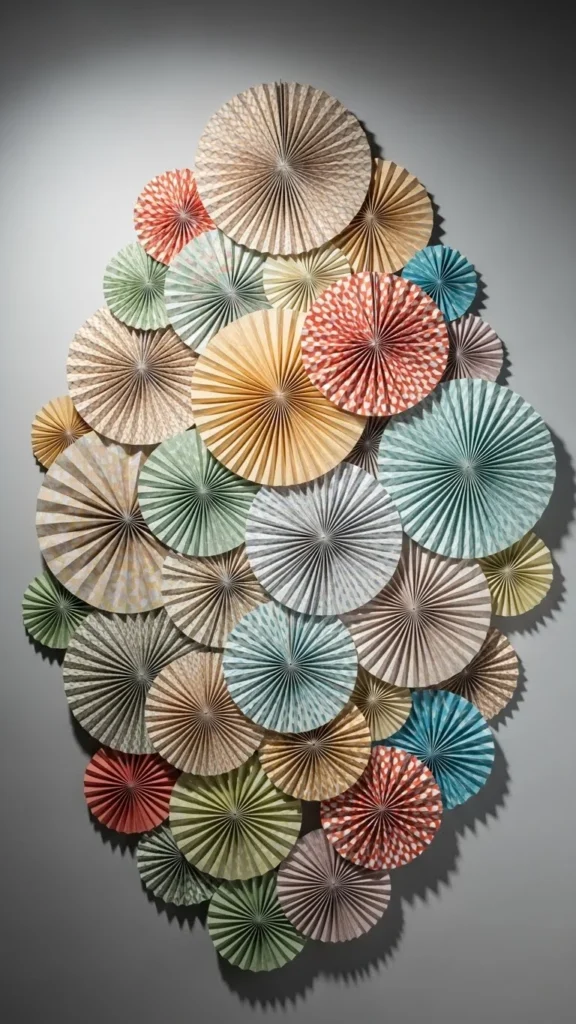
Paper fans are a low-cost way to create a statement wall. Grab construction paper or leftover gift wrap. Fold each sheet accordion-style, then bring the two ends together to form a circular fan. Secure the middle with tape or staples. Make several sizes to keep the display interesting. Use double-sided tape to attach them to your wall in a loose cluster. You can stick to a single color palette for a clean look or mix bold tones for fun energy. If you want a New Year feel, sprinkle a bit of glitter around the edges or glue small stars to the centers. This decoration fills a large space without requiring expensive supplies. You can place it behind your snack table or use it as a backdrop for photos. It’s lightweight and easy to store. If you want more texture, layer patterned paper with solid colors. Paper fans are easy to make in batches, so you can cover as much space as you want.
5. DIY Number Banner
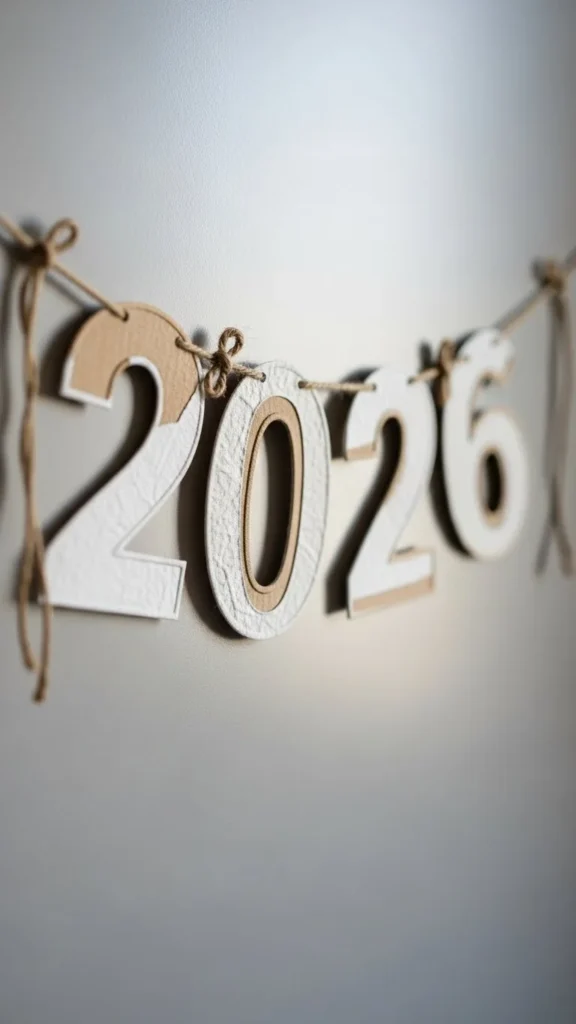
A number banner sets the tone for your New Year’s theme. Start with cardstock or recycled cardboard. Trace the upcoming year in large, bold shapes. Cut out each number and paint them in metallic shades. Use a hole punch to thread twine through the tops. Hang the banner across your mantel, wall, or party table. If you want to stretch your budget, cover the numbers with scrap wrapping paper instead of paint. Add small dots or star stickers for more detail. You can create two banners—one with the year, another with simple shapes—for a layered effect. This decoration is easy to update every year by replacing just the numbers. Kids can help trace and paint the shapes. Pair your banner with fairy lights to make it stand out in the evening. It’s simple, lightweight, and reusable. You can also shrink the numbers and make mini versions for table centerpieces.
6. Sparkly Clothespin Photo Display
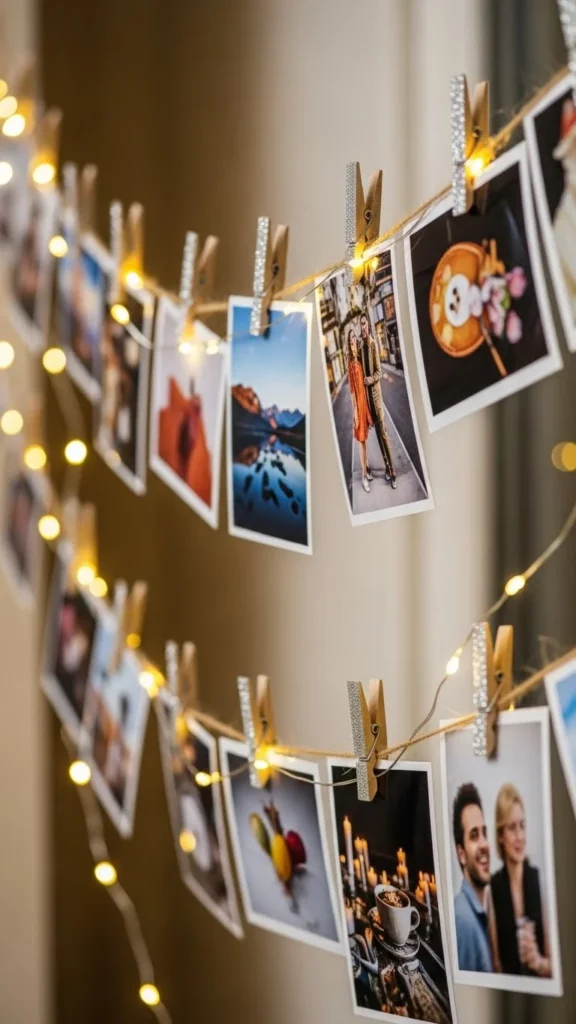
This photo display adds a personal touch to your celebration. You only need clothespins, glue, glitter, twine, and printed photos. Brush the clothespins with glue, sprinkle glitter, and let them dry. String twine across a wall or window. Clip your favorite moments from the past year. This creates a warm, nostalgic display for guests to enjoy. If you’re saving money, use printed paper photos instead of high-quality prints. Add fairy lights behind the twine for a soft glow. You can also mix in small decorative items like paper stars or handwritten notes. This craft is simple and meaningful. It’s a great way to reflect on happy memories while bringing color to your space. Kids can help make the glitter clips, and you can save them for future events. The display can stretch as wide as you want—use multiple rows if you have many photos.
7. Tissue Paper Pom-Poms
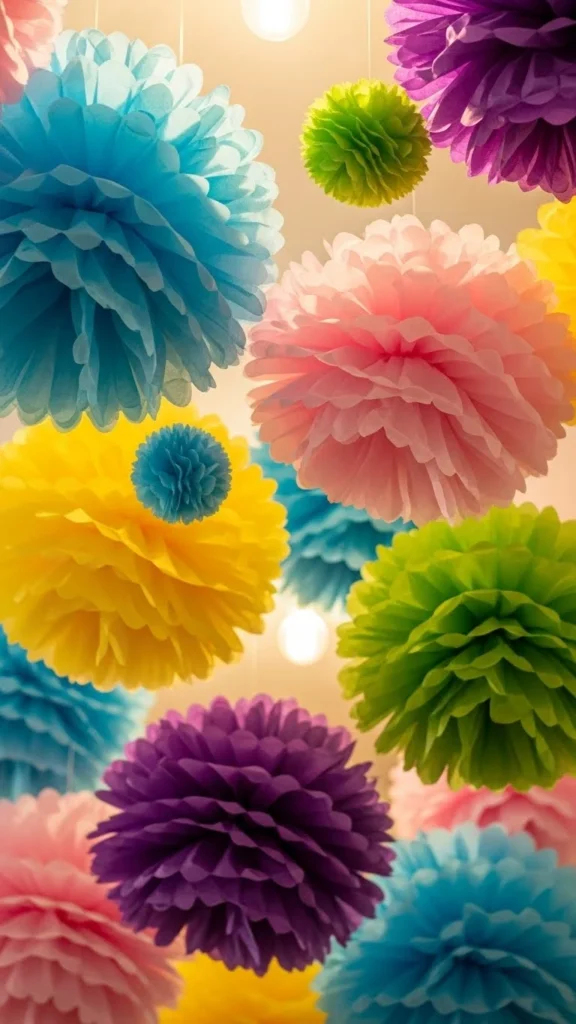
Tissue paper pom-poms are an affordable way to fill empty air space. Stack 8–10 sheets of tissue paper, fold them accordion-style, and tie the center with wire or string. Trim the edges into rounded or pointed shapes for different styles. Gently pull each layer apart to create a fluffy ball. Hang the pom-poms from your ceiling using fishing line or ribbon. You can use colors like gold, white, black, or pastel shades. This craft is lightweight, simple, and quick to assemble. Buy tissue paper in bulk from discount shops to save money. If you want bigger pom-poms, use more sheets. Smaller ones work well for table setups. You can cluster several together for a full look. This decoration adds height to your space without taking floor room. Pom-poms are reusable if you handle them gently. They also pair well with garlands or lights.
8. Painted Rock Table Numbers
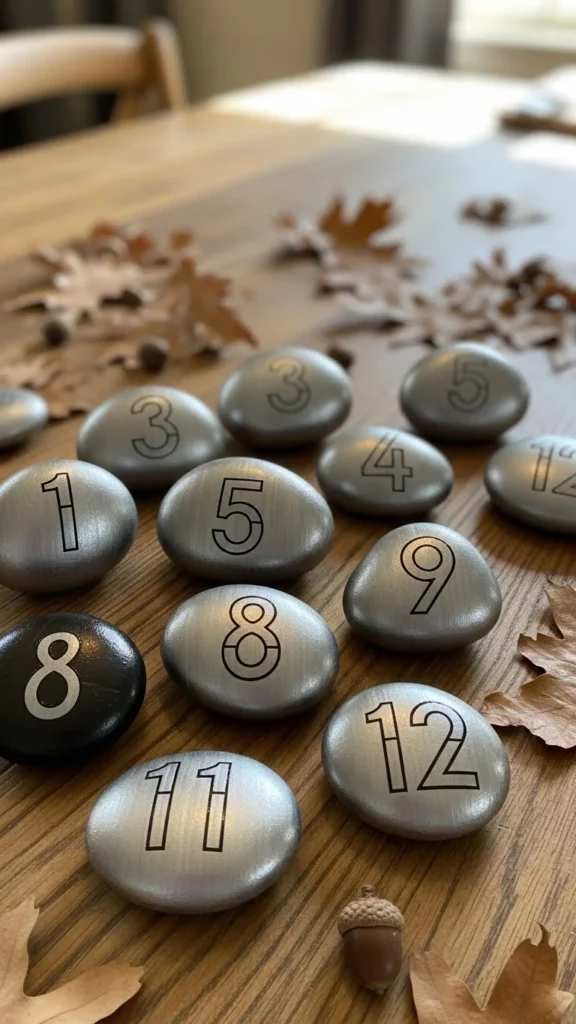
Painted rocks make charming table numbers for New Year gatherings. Collect smooth stones from your yard or buy a small bag from a craft store. Clean them and paint them in solid colors like black or white. Once dry, use metallic markers to draw numbers or small stars. These work well as simple centerpieces or as markers for snack sections. They bring a natural element into your setup. This is a budget-friendly idea since the main material can be found outdoors. For extra style, place each rock on a small coaster or tray. Kids can help paint the rocks too. Mix shapes and sizes to add variety. Stones are sturdy and last for years, so you can reuse them for other events. Their weight also keeps tablecloths from shifting, making them functional and decorative.
9. Paper Firework Bursts
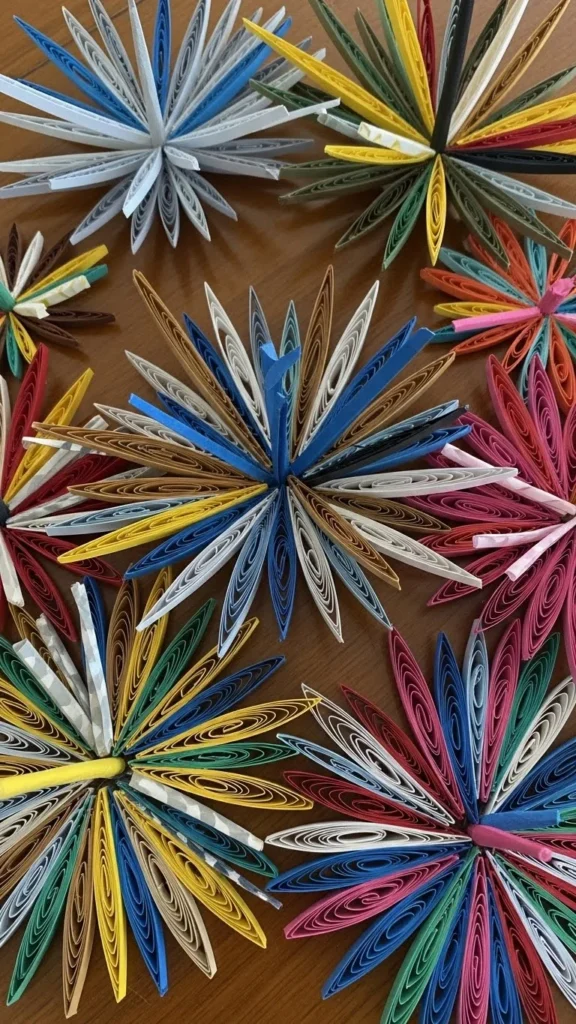
Paper firework bursts bring playful energy to your home. Cut strips of colored paper and roll each one around a pencil. Tape the ends to hold the curl. Gather several curls together and secure the base with glue or a small rubber band. Spread them out to create a firework shape. You can place these on shelves, tables, or string them into garlands. This craft requires only paper, scissors, and tape, making it low-cost. Use leftover gift wrap to save money. Mix bright colors for a cheerful effect, or stick with metallic tones for a more classic style. These bursts look especially fun when grouped in different sizes. Kids enjoy rolling the strips and watching them curl. Add small sequins or stars to the centers for more sparkle. They’re lightweight and easy to store for future events.
10. DIY Glitter Bottles

Glitter bottles add shine to tabletops and shelves. Clean old glass bottles from your recycling bin. Brush the outside with glue and sprinkle glitter generously. Shake off the extra and let them dry. You can also paint them first to help the glitter stick better. Use colors like gold, silver, or black for a classic New Year style. Add twine around the necks for a little texture. Place these bottles alone or group them with candles and greenery. This craft costs nearly nothing if you reuse old bottles. Skip buying glitter in several shades by sticking to one color palette. If you want a less messy option, use metallic spray paint instead. Glitter bottles make great vases for dried flowers too. They bring sparkle into your space without overwhelming it. Store them for future celebrations or repurpose them for your home decor.
11. Mini Paper Countdown Rings
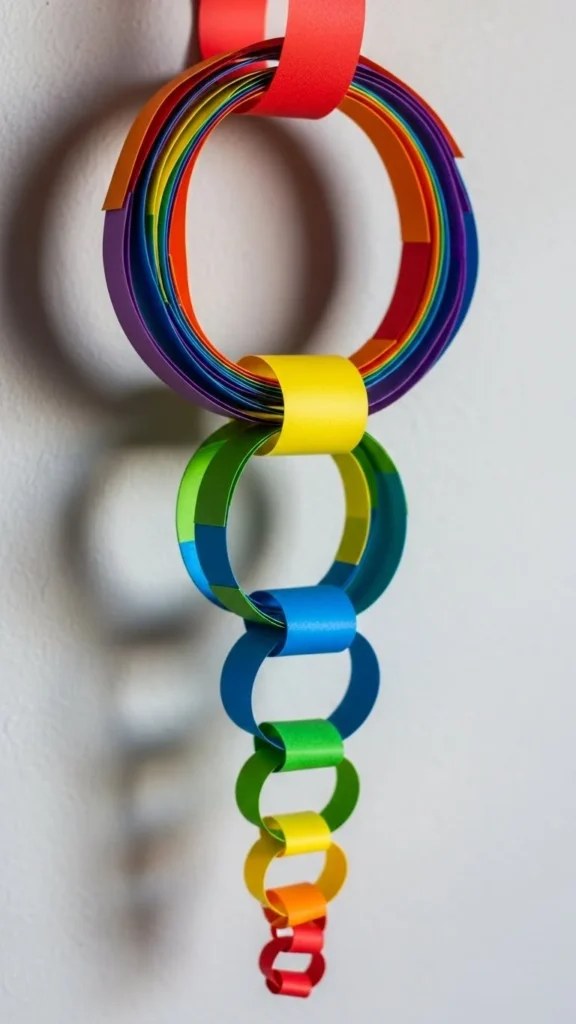
Countdown rings are a simple craft that adds a playful touch. Cut strips of paper in equal lengths. Form the first strip into a ring and staple the ends. Loop another strip through the first and staple. Continue until you have a long chain. Create one ring for each hour leading up to midnight. Kids can remove a ring each hour for fun. Hang the chain on a wall, doorway, or near your snack area. This craft is cheap and easy—use leftover wrapping paper or magazine pages if you don’t have craft paper. You can also write little notes or goals on each ring. Use metallic paper or add glitter accents for sparkle. The chain brings movement and color to your space. It’s lightweight and takes minutes to assemble. It’s also a great way to involve the whole family.
12. Upcycled Candle Holders
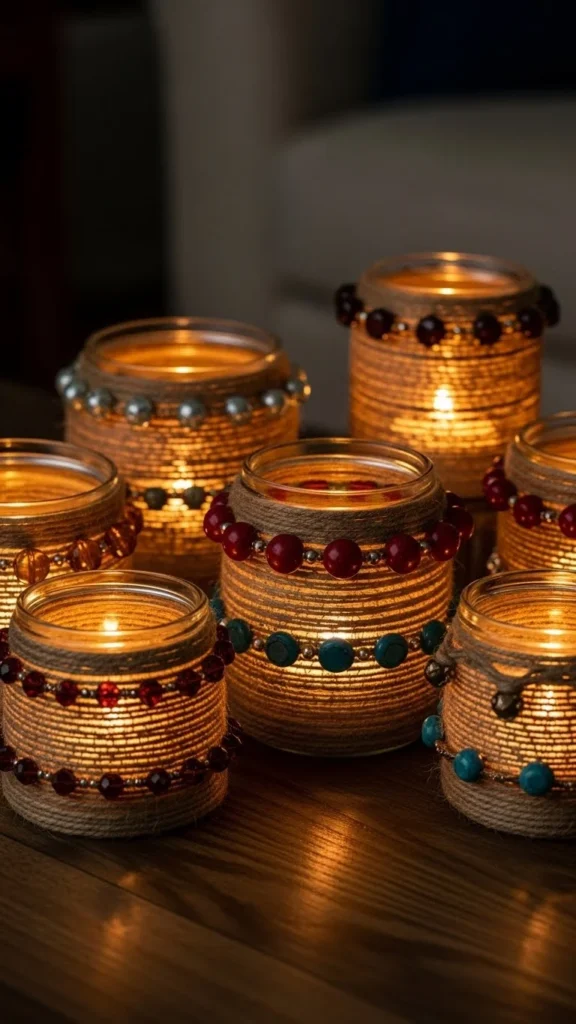
Turn small jars or containers into charming candle holders. Remove labels and clean the glass. Wrap twine, ribbon, or lace around the top. Add beads, buttons, or small stars as accents. Place a battery-powered candle inside for a soft glow. Use jars from condiments to save money. This craft is simple and flexible—you can decorate each jar differently. Grouping several candle holders together creates a cozy centerpiece. Place them on shelves, tables, or along your entryway. If you want more style, paint the lower half of each jar in a solid color. Use matte paint for a modern look. Candle holders are easy to personalize and reuse. They also pair well with greenery, pine cones, or seasonal items you already own.
13. DIY New Year Wreath

A DIY wreath makes a warm welcome for guests. Use a wire or cardboard ring as the base. Attach faux greenery, ribbon, or paper stars using glue or wire. Pick a color theme that matches your setup. You can also add small bells or LED lights. If you’re saving money, cut stars from old gift bags instead of buying new decorations. Hang your wreath on your door or wall. This craft brings a festive feel without needing expensive supplies. It’s easy to customize and update each year. Use leftover materials to create matching mini wreaths for windows or shelves. Wreaths work both indoors and outdoors.
14. Paper Lanterns
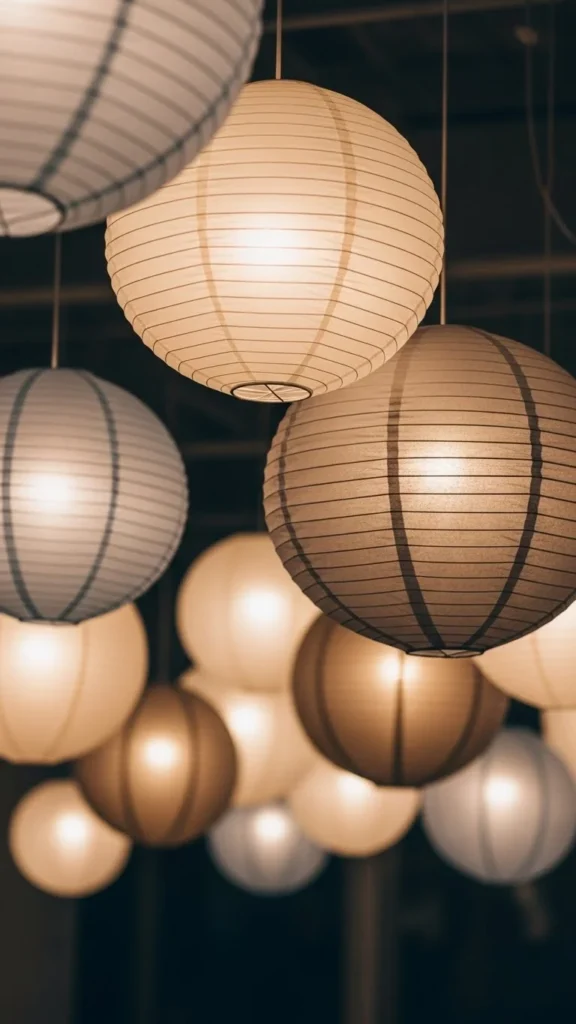
Paper lanterns create a warm, calm atmosphere. Cut a sheet of paper into a rectangle. Fold it lengthwise and cut slits along the folded edge. Unfold it and roll the paper into a cylinder. Tape the ends together and add a handle if you like. Place a battery-powered candle underneath for a soft glow. Use different colors and sizes for variety. This decoration costs pennies and takes only a few minutes. If you want more strength, use thicker paper. You can also add stars, dots, or sequins around the edges. Hang the lanterns or place them on tables. Their light brings a peaceful feel to your New Year setup.
15. DIY Countdown Clock Sign
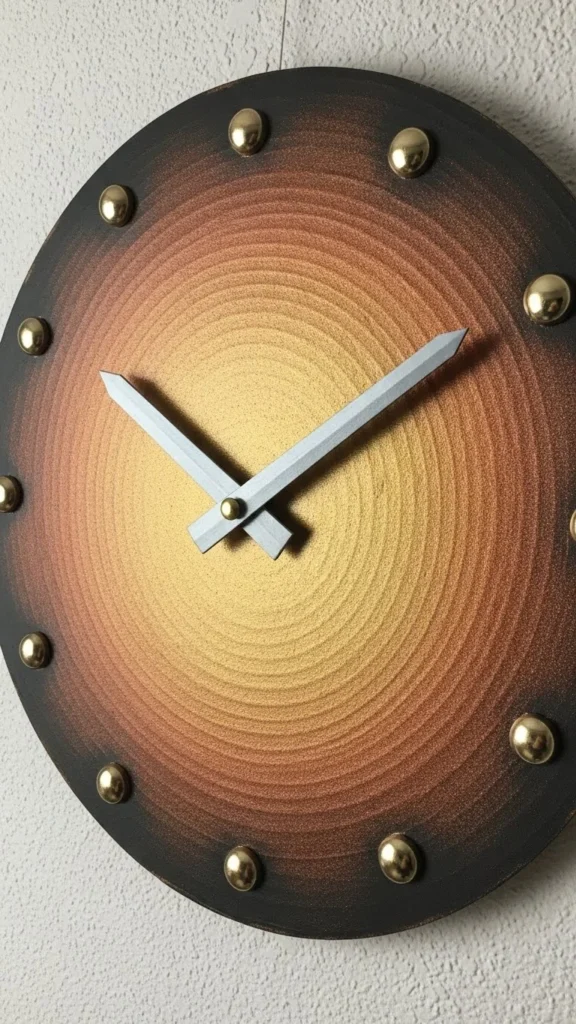
A cardboard clock sign adds charm and fun to your party space. Cut out a large circle from cardboard. Paint it in a solid shade like gold or black. Use markers to draw numbers around the edge. Cut out two clock hands and attach them with a paper fastener so they can spin. Kids love moving the hands to track the time. This craft costs almost nothing if you reuse packaging materials. Hang the clock on your wall or place it near your food area. Add small stars or dots for detail. The clock becomes a playful decoration and a conversation starter. It’s lightweight and easy to store for next year.
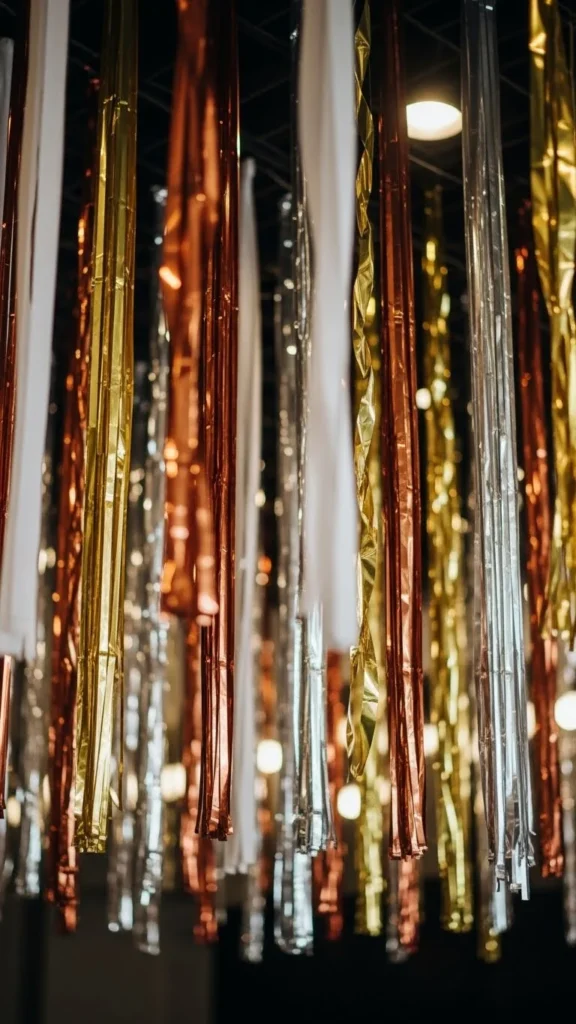
16. Ribbon Wall Curtain
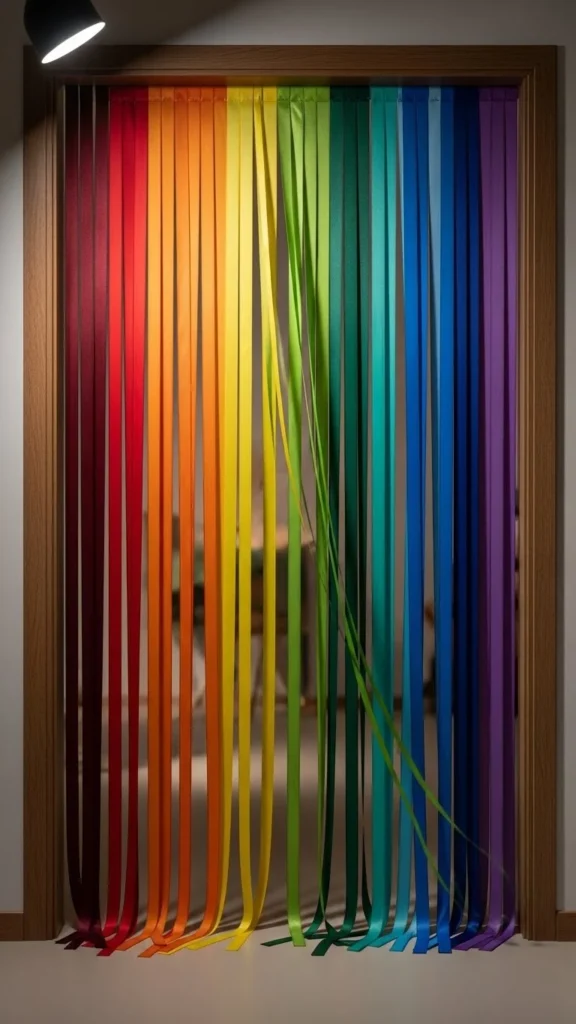
A ribbon curtain fills empty space with color and movement. Cut ribbons in equal lengths and tie them to a long piece of twine. Hang the twine across a doorway or wall. Use shades like gold, white, and black for New Year style. To save money, use strips of fabric from old clothing or sheets instead of buying ribbon. You can also add foil strands for shine. The curtain creates a festive entrance or a fun photo backdrop. Kids can help tie the ribbons, making it a family-friendly craft. This project is fast, simple, and easy to customize.
17. Painted Cardboard Stars
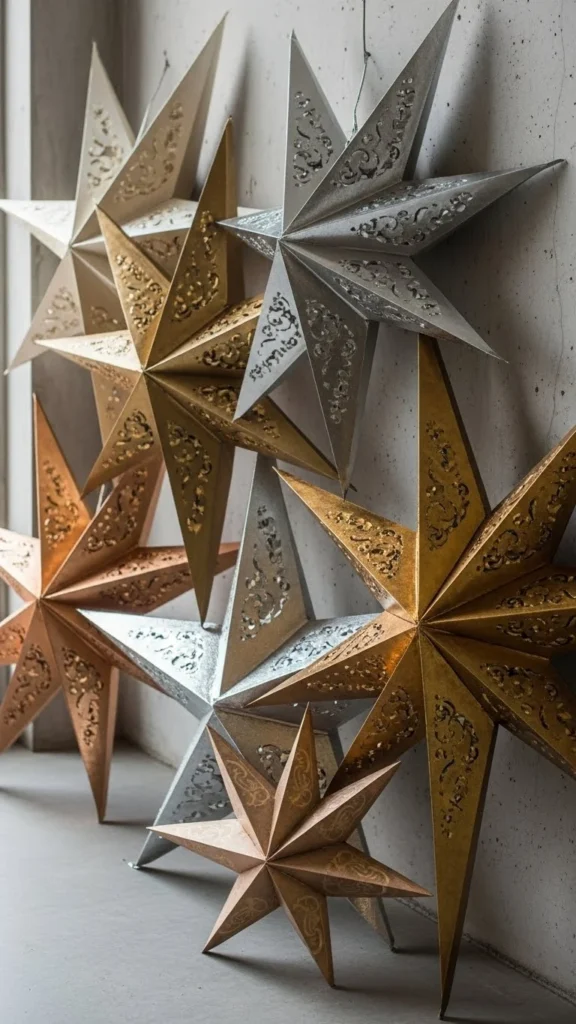
Cut large star shapes from cardboard boxes. Paint them with acrylic shades like silver, gold, or white. For texture, dab the paint with a sponge instead of brushing it. Add glitter around the edges if you want more shine. These stars can be hung, placed on shelves, or leaned against walls. They mimic store-bought decor but cost almost nothing. Make several sizes for a layered look. If you want more detail, glue smaller stars on top. Kids enjoy tracing and painting the shapes. These stars are lightweight but hold their shape well. They’re also easy to store for next year.
18. DIY Table Confetti
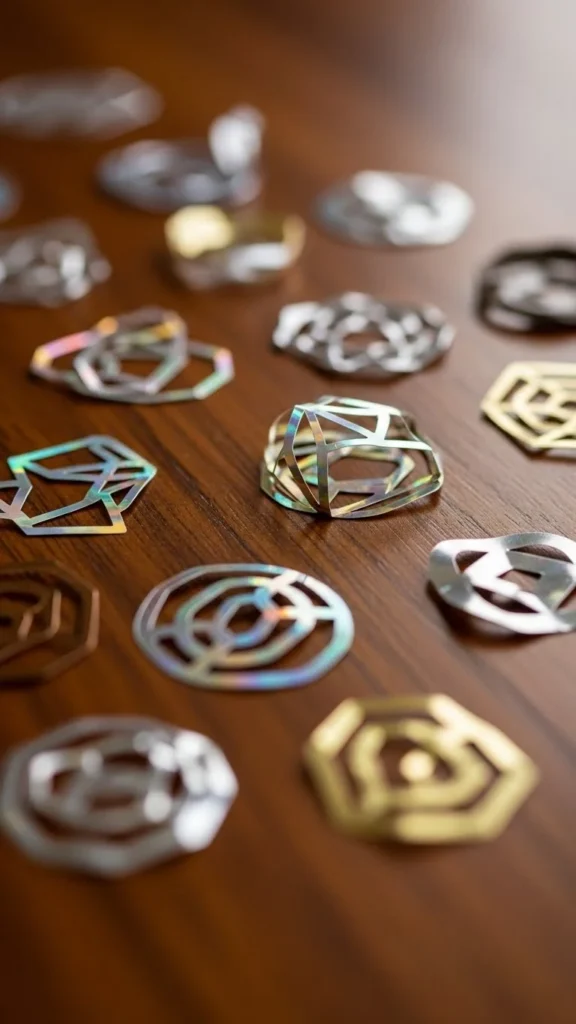
Make your own table confetti using a hole punch or small shape punch. Use leftover wrapping paper, foil paper, or magazine pages. Punch out circles, stars, or hearts. Scatter the confetti around centerpieces, candles, or trays. It adds sparkle without spending much. This idea is great for last-minute decorating since you only need paper and scissors. Mix different colors and shapes to match your theme. Store extra confetti in a small jar for future events. Kids can help punch the shapes, making it a fun activity. Table confetti ties your decorations together and fills empty surfaces.
19. Upcycled Tin Can Vases
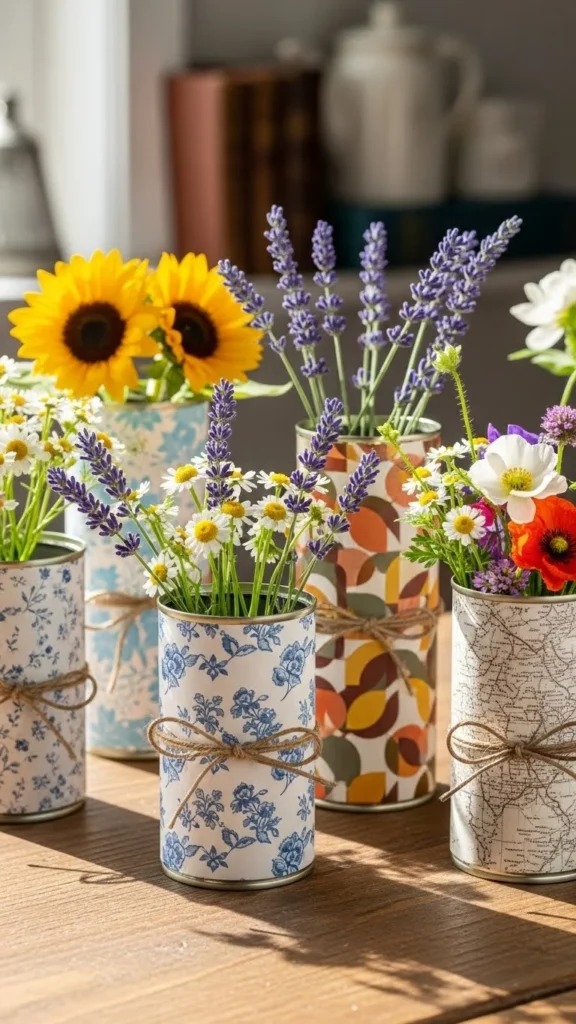
Tin cans make charming vases when wrapped with decorative paper. Clean the cans and remove labels. Wrap them with scrapbook paper, old wrapping paper, or fabric scraps. Secure the edges with glue or tape. Add twine or ribbon around the rim for detail. Fill the cans with dried flowers, faux greenery, or paper stems. This craft is extremely budget-friendly since the main material is free. Use different sizes of cans for variety. Place the vases on dining tables, shelves, or entry areas. They’re lightweight and easy to move around. You can change the wrapping to match any theme in the future.
20. DIY Sparkle Branches
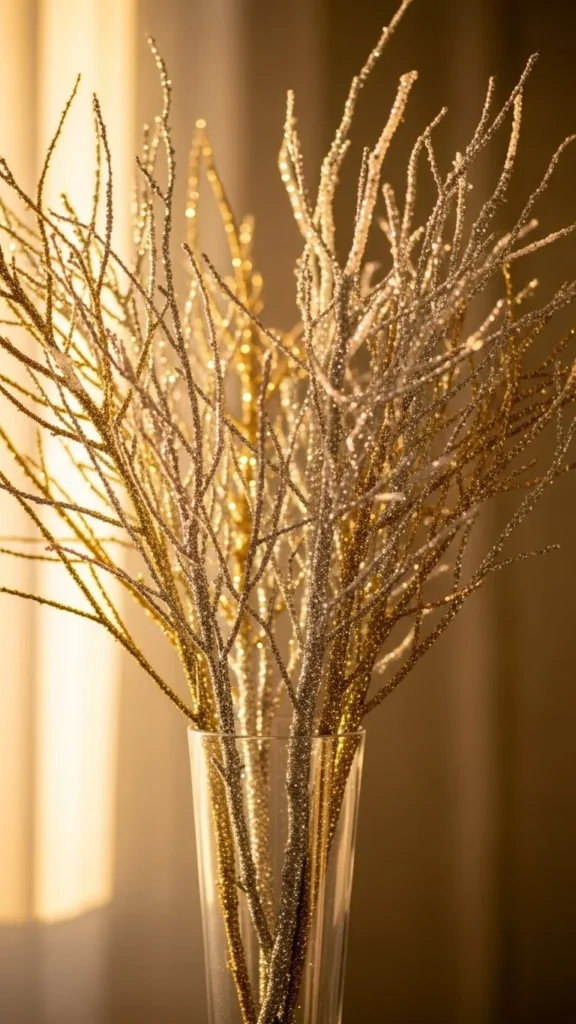
Find small tree branches outdoors and clean them. Brush them with glue and sprinkle glitter over the surface. Once dry, place the branches in a tall vase. They bring height and sparkle to your home. To save money, reuse an old vase or wrap a bottle in paper. Use gold, white, or silver glitter for a New Year feel. You can also attach small stars or paper cutouts. This craft looks elegant and costs almost nothing. It’s great for entryways, corners, or tabletops. Kids can help apply the glitter for added fun.
21. DIY Paper Streamers
Paper streamers bring playful movement to your space. Cut long strips from wrapping paper, tissue paper, or gift bags. Curl the ends by running them along a scissor blade. Hang several strips from the ceiling or attach them to a wall. Mix colors like white, silver, gold, or even pastels. Paper streamers are inexpensive and quick to make. Use different lengths for variety. If you want more dimension, twist the strips slightly before hanging. Kids can help cut and hang the pieces. This idea works well as a photo backdrop or behind your snack table. It fills space without needing expensive supplies.
22. DIY Year-in-Review Board

A year-in-review board is both decorative and meaningful. Start with a corkboard or a large piece of cardboard. Print your favorite photos from the past year. Add handwritten notes, goals, or small drawings. Decorate with paper stars, glitter, or ribbon. Hang the board on a wall where guests can see it. This display sparks conversations and brings warmth to your celebration. Use inexpensive prints or even black-and-white copies to save money. Kids can add drawings or stickers. This board doubles as decor and a keepsake. You can even leave a few blank spots for guests to add their own messages.
23. DIY Table Runner from Craft Paper
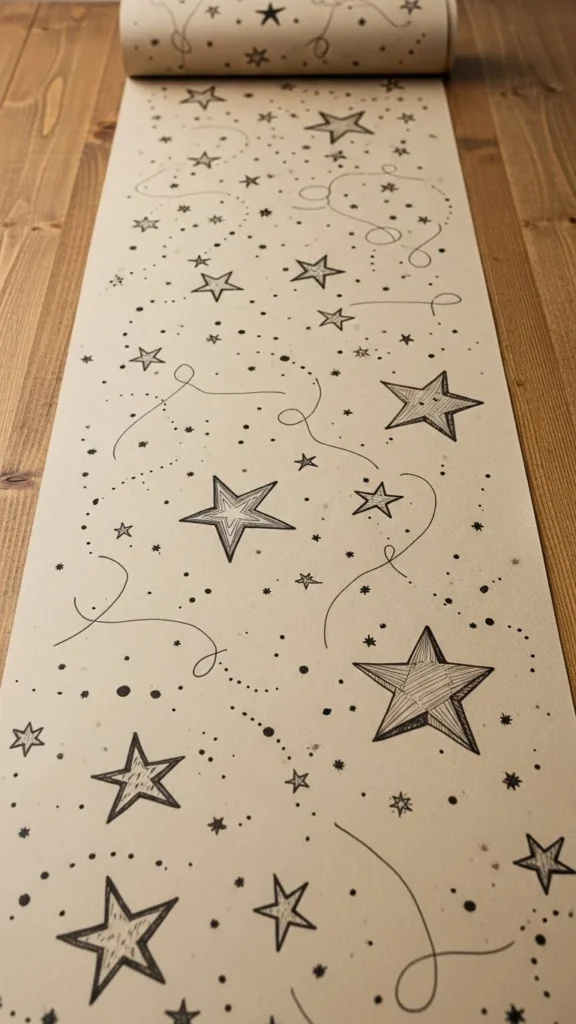
Craft paper makes an easy and affordable table runner. Roll out a long sheet across your dining table. Draw stars, lines, or small patterns with markers. You can also repeat simple motifs like dots or stripes. For a more polished look, add metallic stickers or ribbon edges. This runner gives your table a handmade feel while protecting the surface. It’s perfect for families since spills don’t matter—you can just replace the sheet. Kids can help decorate the paper, making it a fun group activity. The materials cost very little and are easy to find. When the night ends, roll up the runner or recycle it.
24. DIY Hanging Star Mobile
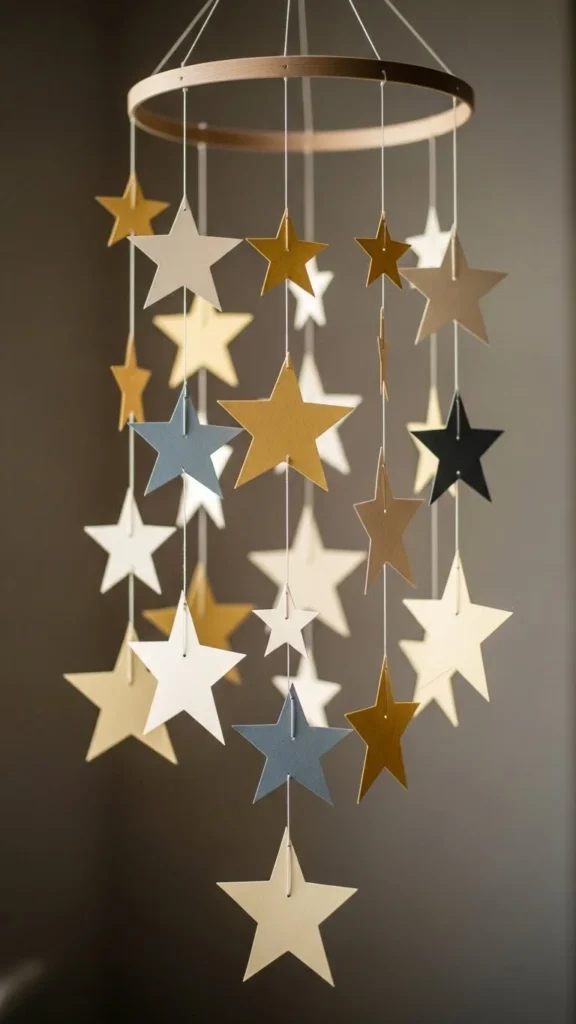
A star mobile adds movement and shine to your room. Cut stars from paper or lightweight cardboard. Punch a hole at the top of each and tie them with thin string. Attach the strings to a wooden hoop or embroidery ring. Hang the mobile from your ceiling, doorway, or corner. Use different star sizes for depth. This decoration works well in both small and large spaces. If you’re saving money, use cardboard from cereal boxes. Paint the stars in metallic shades or cover them with glitter. The mobile twirls gently in the air, adding a soft, festive touch. It’s lightweight and easy to store for next year.
25. DIY New Year Memory Jars
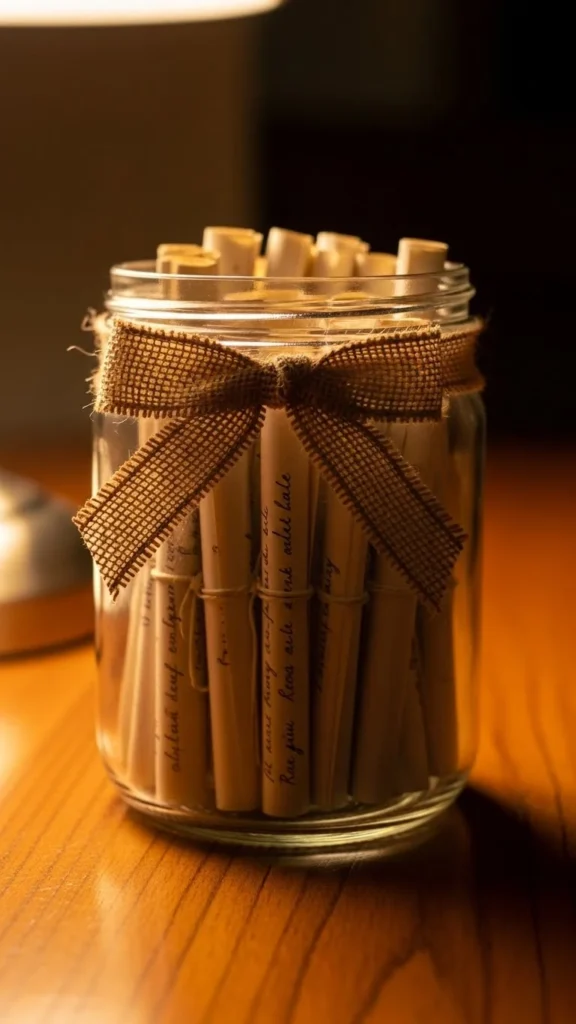
A memory jar is both decorative and sentimental. Clean a glass jar and add ribbon or twine around the top. Cut small strips of paper and leave them nearby with a pen. Throughout the night, guests can write notes, hopes, or funny moments from the year. Drop the slips inside the jar. This creates a beautiful keepsake and a meaningful decoration. If you want to save money, reuse jars from sauces or spreads. Add small stars or stickers to the outside. Place the jar near your entryway or snack table. It’s simple, heartfelt, and requires almost no materials. You can also create multiple jars for different themes—such as moments, goals, or quotes.
Conclusion
Creating New Year decorations doesn’t have to cost much. With simple materials, recycled items, and a few creative steps, you can fill your home with handmade charm. These ideas bring warmth, color, and personality to your celebration without stretching your budget. Pick a few favorites, gather your supplies, and enjoy crafting decorations that make your space feel joyful and welcoming for the year ahead.