Lighting does more than just brighten a space — it defines mood, highlights your style, and turns an ordinary room into something special. If you’ve ever browsed Pinterest and thought, “I could make that!”, this guide is for you. Creating your own DIY lighting fixtures is easier than you might think — and far more rewarding.
Why DIY Lighting is Totally Worth It
There’s something magical about flipping a switch and seeing light radiate from something you created. Besides the obvious satisfaction, here’s why DIY lighting is an amazing home project:
- Budget-friendly: Skip the designer price tags. You can often recreate $200 fixtures for under $40.
- Completely customizable: Choose materials, finishes, and designs that match your exact aesthetic.
- Eco-conscious: Reuse jars, baskets, or old metal frames to reduce waste.
- Statement-making: A unique fixture instantly draws attention and becomes a conversation starter.
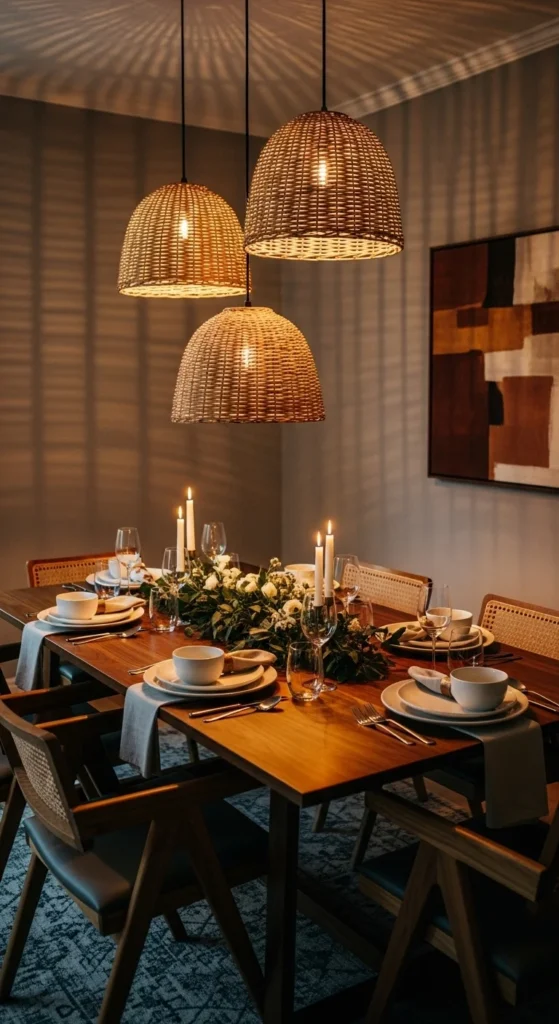
Step 1: Choose the Perfect Style
Before you start drilling or wiring, decide what vibe you want. DIY lighting can range from rustic and bohemian to sleek and modern.
Here are a few popular styles to inspire you:
- Industrial: Use metal cages, pipes, or Edison bulbs.
- Boho chic: Think woven baskets, macramé, or driftwood.
- Minimalist: Simple geometric shapes and soft white light.
- Rustic farmhouse: Mason jars, reclaimed wood, or rope details.
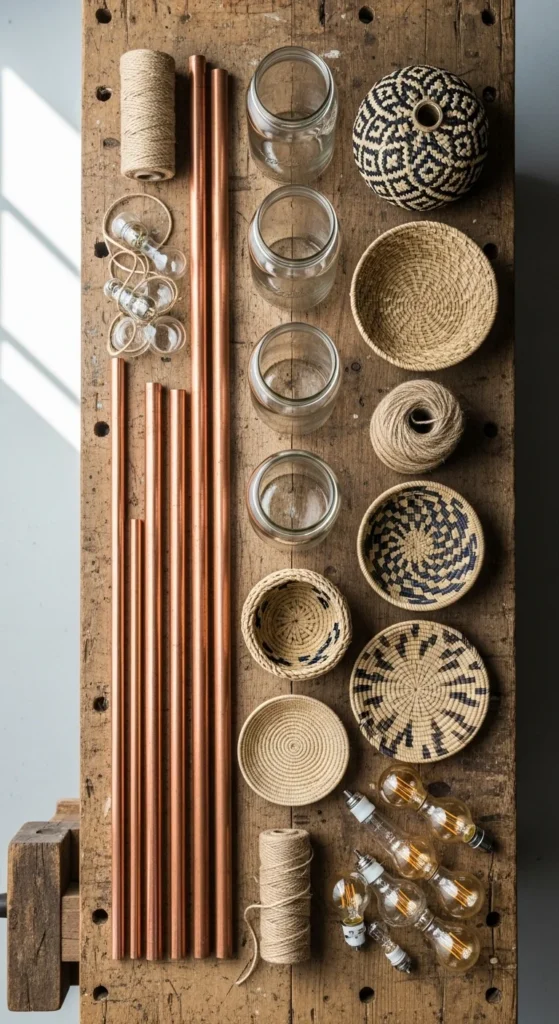
Step 2: Gather Your Materials and Tools
You don’t need to be an electrician to create DIY lighting. Most projects only require a few basic tools:
Essentials:
- A light kit (socket, cord, plug)
- LED bulb (choose warm or cool based on your room)
- Wire cutters and pliers
- Screwdriver and glue gun
Optional creative materials:
- Basket, jar, colander, or metal cage for the shade
- Spray paint (matte black, gold, or white)
- Rope, beads, or fabric for added texture
Safety Tip: Always unplug cords before adjusting wires and follow standard lighting safety guides.
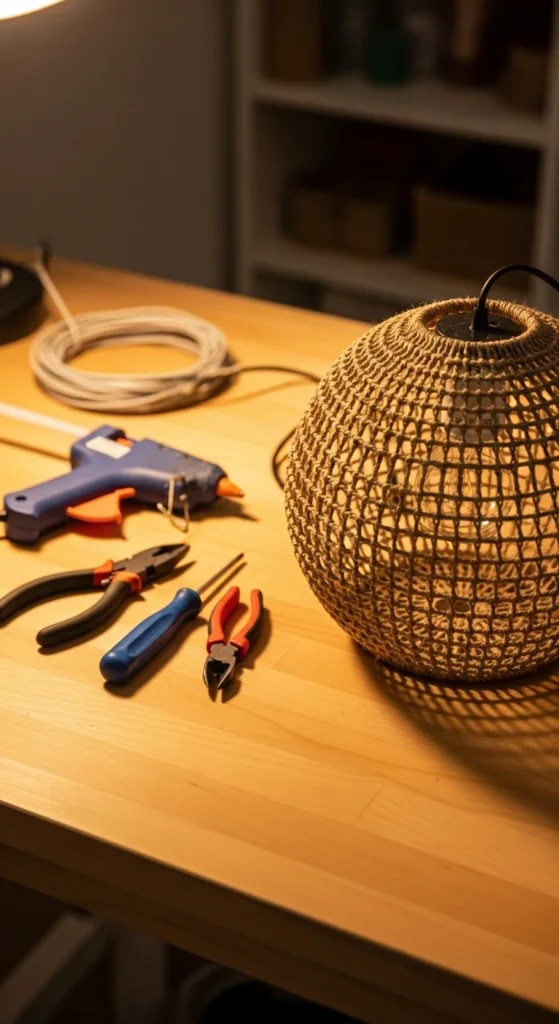
Step 3: Build Your Fixture
Once your materials are ready, it’s time to bring your vision to life! Here’s a simple process for creating a pendant or table lamp.
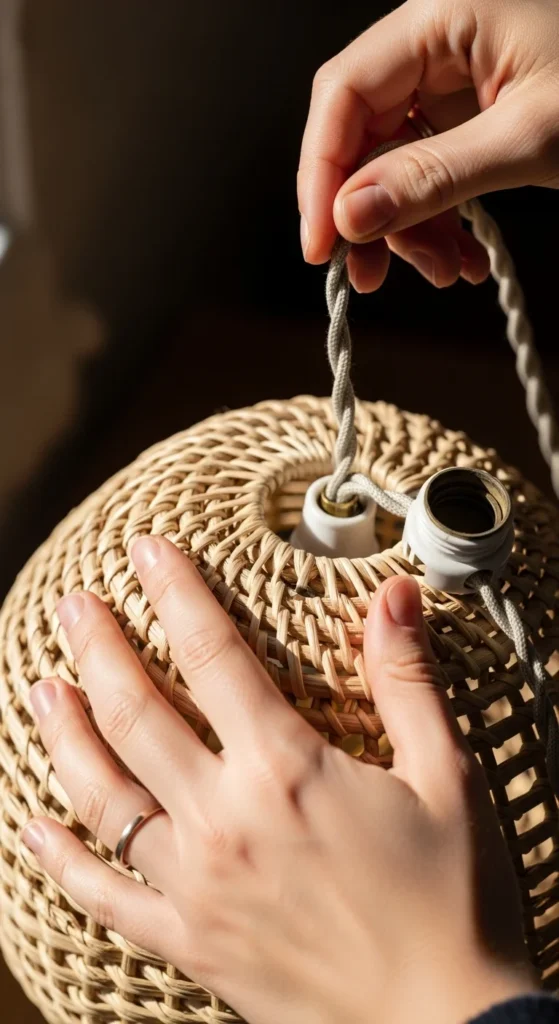
For Hanging Lights:
- Insert the light socket into your chosen shade (like a basket or jar).
- Secure it using wire or strong glue.
- Thread the cord through the top and ensure it hangs straight.
- Plug in the cord set and test your bulb.
- Adjust for height and symmetry.
For Table Lamps:
- Use a glass bottle, wooden base, or ceramic vase.
- Drill a hole for the cord if needed.
- Insert the socket kit and secure it tightly.
- Attach a shade or decorative cover.
Pro Tip: Try wrapping rope around the cord or painting the bulb socket for a finished, designer look.
Step 4: Add Finishing Touches
This is where the magic happens! You can completely change the look of your fixture with a few details:
- Add color: Spray paint your fixture gold for luxury or matte black for modern appeal.
- Texture it up: Wrap parts in jute, twine, or leather.
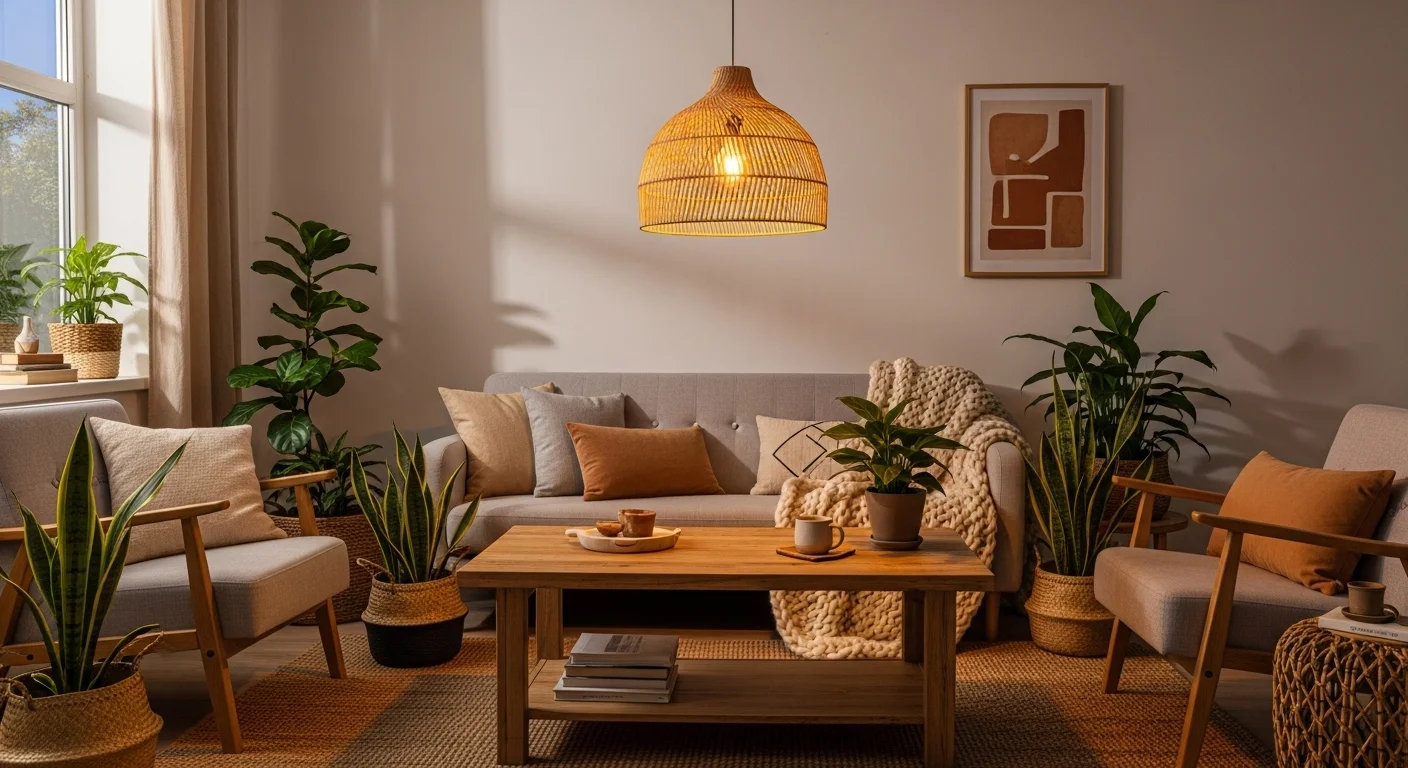
- Layer your lighting: Combine pendant lights, fairy lights, and wall sconces for depth.
- Smart lighting: Use a dimmer or smart bulb for adjustable brightness.
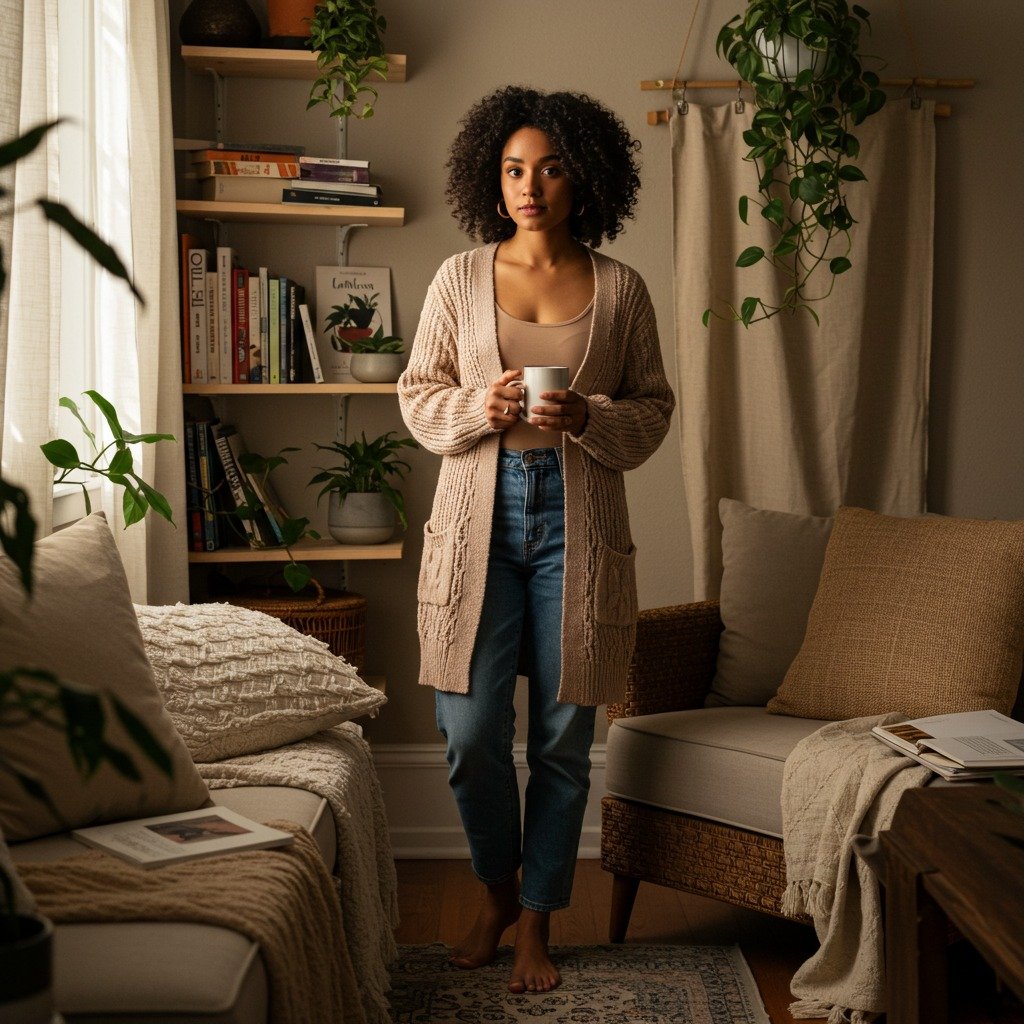
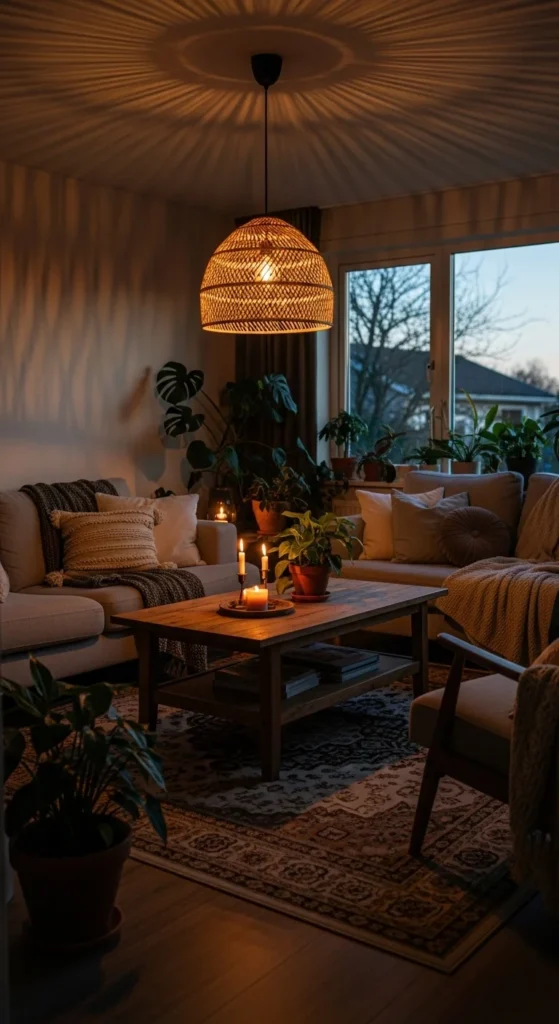
Step 5: Showcase Your Creation
Once your lighting fixture is complete, it deserves the spotlight — literally! Position it strategically to highlight your home’s best features.
Here are some placement ideas:
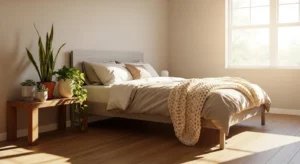
- Over a kitchen island or dining table for cozy dinner ambience.
- In your reading nook or workspace for focused lighting.
- As a statement piece in your entryway.
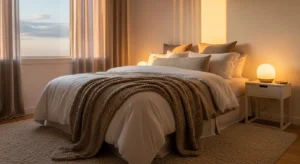
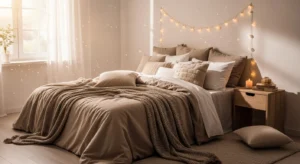
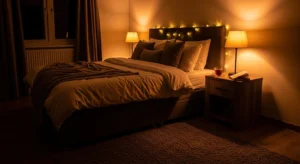
- Above your bed for a romantic glow.
Experiment with bulb shapes and tones until the lighting feels just right for the mood you want.
DIY Lighting Ideas to Try Next
If you’re ready for more creativity, here are some fun ideas:
- Mason Jar Chandeliers: Group several jars at varying heights.
- Driftwood Lamp: Mount a light on a piece of beach wood for a natural touch.
- Wire Basket Sconce: Turn an old fruit basket into a rustic wall light.
- Colander Pendant: Perfect for kitchens — punch holes for light patterns.
- Rope-Wrapped Lamp: Coastal, charming, and super easy to make.
Final Glow-Up: Your Home, Your Light
Making your own lighting isn’t just about saving money — it’s about expressing who you are. Each handmade lamp or pendant tells a story, turning light into art. Whether you choose modern minimalism or rustic charm, your DIY fixture will shine brighter knowing you built it yourself.

Ready to light up your creativity? Save this DIY lighting guide for later and start your next home project today — your perfect glow is just a bulb away!