Decorating your home doesn’t have to mean expensive furniture or complicated renovations. Sometimes, all it takes is a few cleverly placed wall stickers to completely transform a space. Whether you live in a small apartment, a dorm room, or your forever home, wall decals offer a creative, low-commitment way to personalize your walls and make your space shine.
Why Wall Stickers Are the Ultimate Decor Hack
Wall stickers are every budget decorator’s dream. They’re:
- Affordable — You can find stylish designs for under $20.
- Removable — Perfect for renters or anyone who loves to change things up.
- Endlessly customizable — Available in every theme, from minimal geometric shapes to lush floral murals.
You don’t need special tools, paint, or an artistic background. All you need is a clean surface and a bit of imagination.
Step 1: Choose the Right Design for Your Space
Before you start sticking, think about your room’s personality and what vibe you want to create.
- Minimalist spaces – Try abstract lines, subtle shapes, or monochrome quotes.
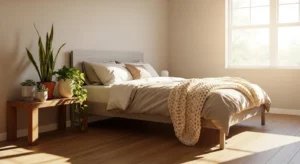
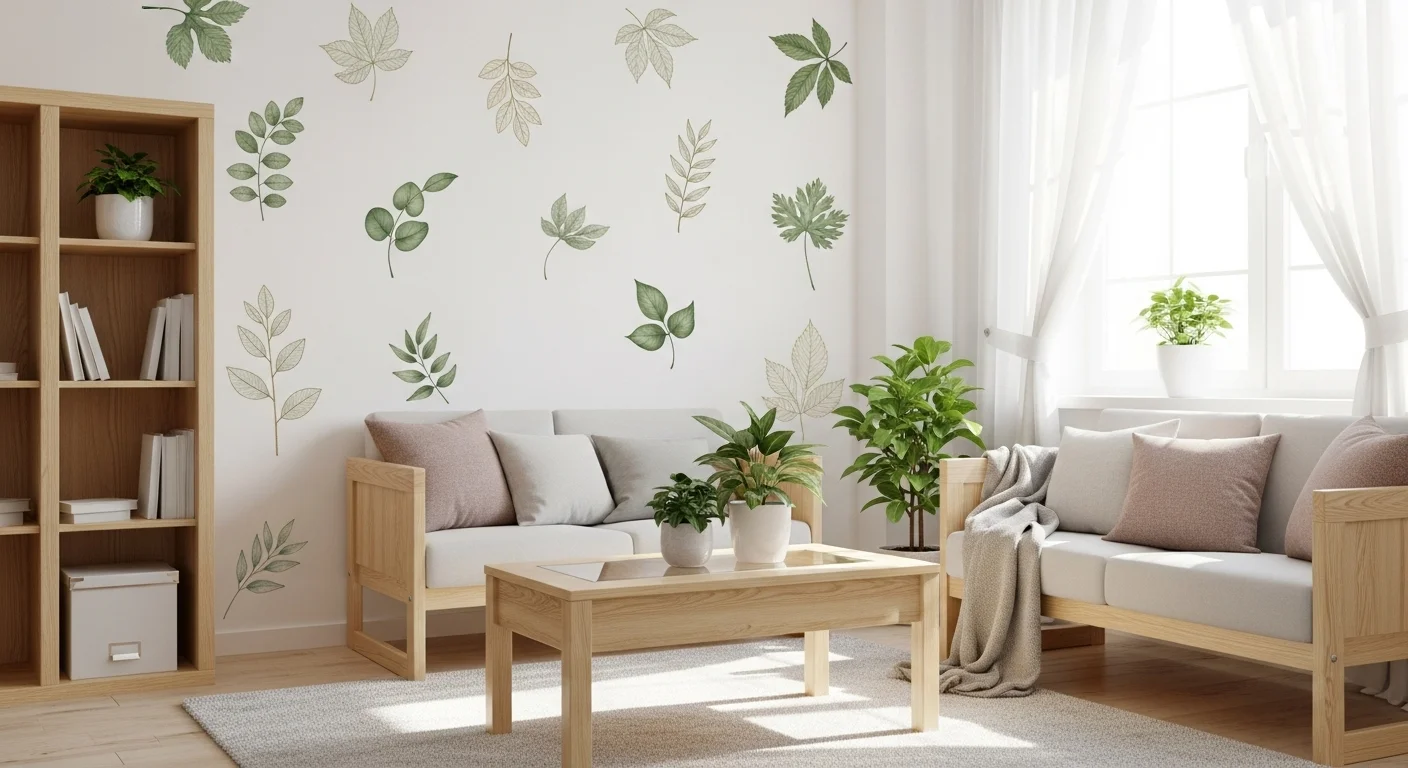
- Nature-inspired decor – Go for leafy patterns, floral arrangements, or mountain silhouettes.
- Kids’ rooms – Animals, stars, clouds, and colorful patterns make walls playful.
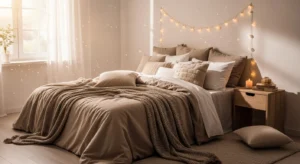
- Boho vibes – Mandalas, feathers, or sun and moon decals add instant charm.

Pro Tip: Stick with a color palette that complements your wall paint. Muted tones on light walls and bold designs on plain backgrounds create the best visual contrast.
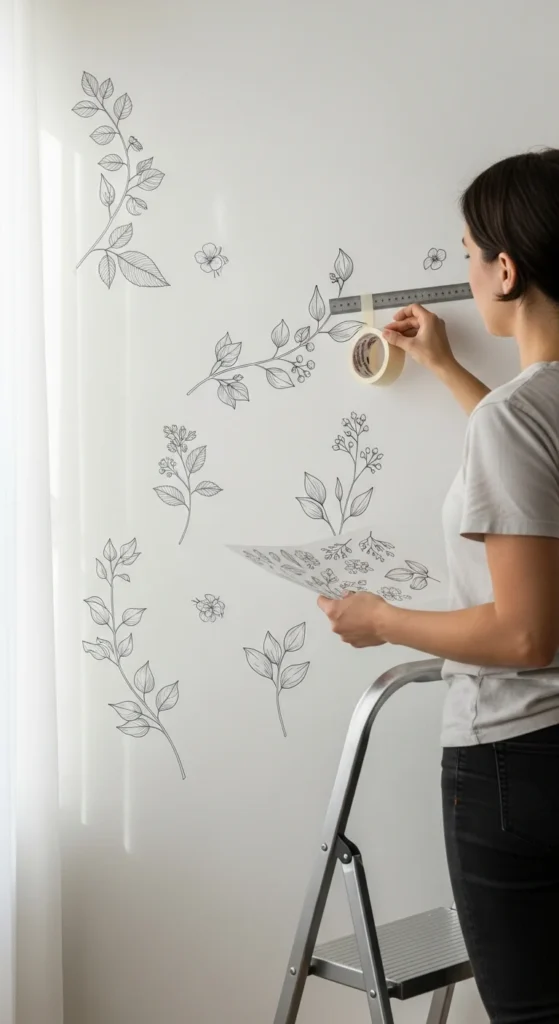
Step 2: Plan Your Layout Before Sticking
It’s tempting to start applying decals right away, but a little planning goes a long way.
Here’s how to do it right:
- Clean the wall — Dust, oils, and uneven surfaces can stop decals from sticking properly.
- Use masking tape to lay out where each piece will go before removing the backing.
- Step back and view from different angles to make sure everything looks balanced.
- Mark with light pencil dots if you need a guide (erase them later).
This step ensures your final design looks cohesive rather than random.
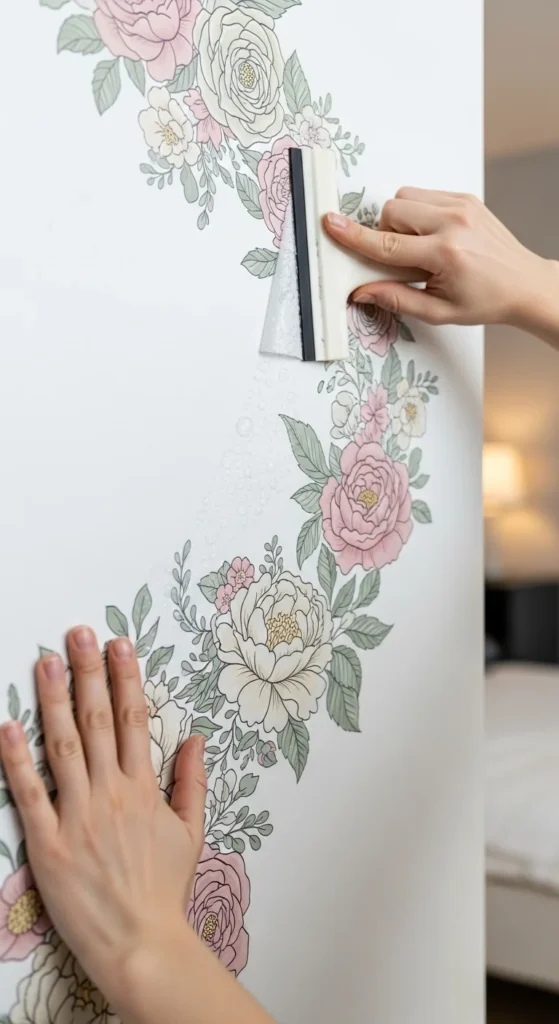
Step 3: Apply Like a Pro
Once your layout feels right, it’s time to bring your wall to life.
- Start from the center and work outward to avoid uneven spacing.
- Peel slowly — Don’t rush! Carefully smooth out air bubbles with a soft cloth or credit card.
- For larger decals, have a friend help hold one side steady while you align the other.
- Avoid textured surfaces, as they might prevent the sticker from fully adhering.
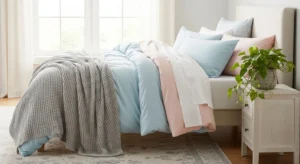
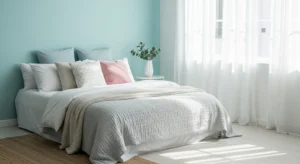
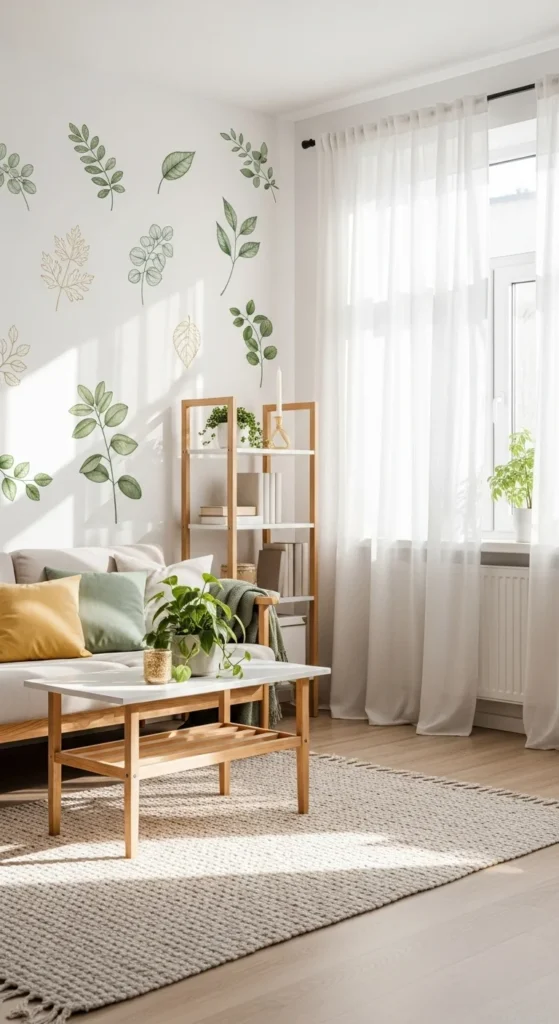
Step 4: Create Themed Areas for Visual Impact
Wall stickers can be more than just accents—they can define entire zones in your home.
Here are some creative ways to use them:
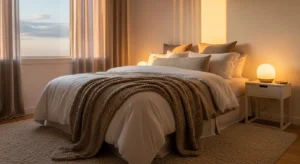
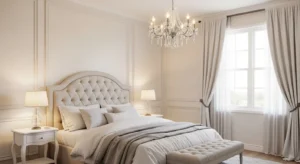
- Above the bed: Frame your headboard with floral or geometric decals.
- In the kitchen: Use herb, utensil, or quote designs for a cozy culinary touch.
- In the entryway: Add an inspiring quote or abstract pattern to greet guests.
- In the office: Motivate yourself with typography art or minimalist shapes.
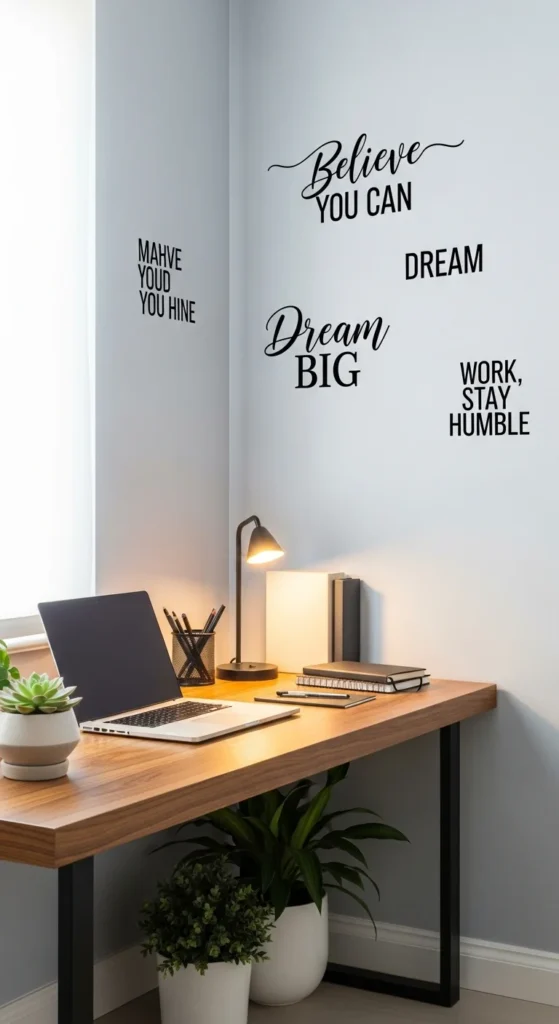
Mixing sticker themes with real decor—like mirrors, clocks, or shelves—adds depth and interest to the wall.
Step 5: Maintenance and Easy Removal
One of the biggest advantages of wall stickers is how easy they are to maintain.
- Dust gently using a dry cloth or feather duster.
- Avoid water and cleaners, as they can damage the adhesive.
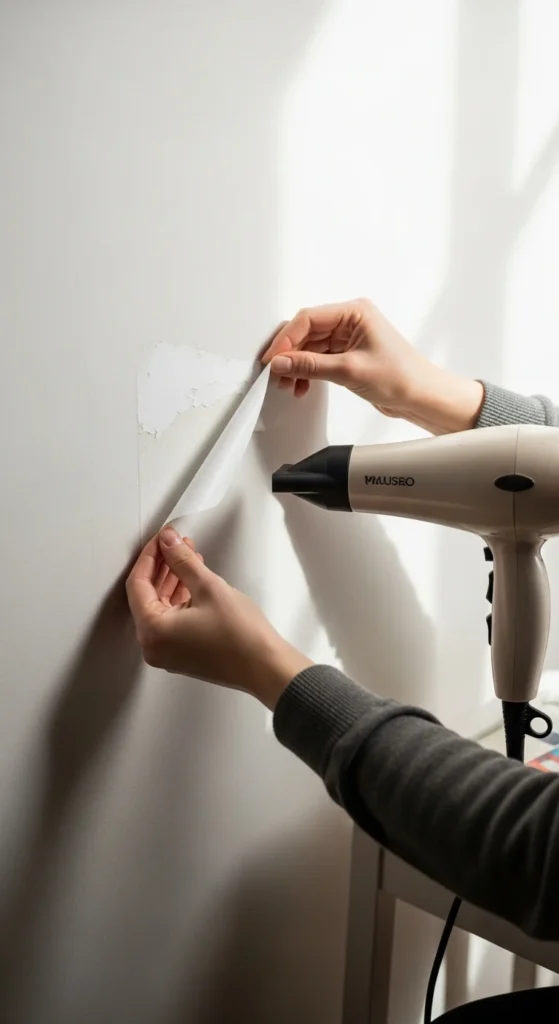
- When removing, peel slowly from one corner. If it resists, use a hair dryer on low heat to soften the adhesive.
If you plan to reuse them, stick them back onto their original backing paper or wax sheets for storage.
Creative Bonus Ideas
Want to take it a step further? Try these:
- Combine small decals into one large mural.
- Add stickers to mirrors, doors, or furniture fronts for a cohesive look.
- Layer transparent decals over one another for a 3D effect.
- Frame a favorite quote sticker to make it feel like art.
You can even create seasonal displays—like leaves for fall or snowflakes for winter—then swap them out year-round.
Final Takeaway
Wall stickers are proof that you don’t need a big budget to create a beautiful home. With just a few sheets of decals and a bit of creativity, you can refresh any space in under an hour—no nails, no paint, no stress.
So go ahead, explore your artistic side and transform your walls into a personal masterpiece.
Save this decor idea for later and start designing your dream wall today!