Wreaths aren’t just for holidays — they’re a year-round way to bring beauty and personality to your home. Whether you’re going for rustic charm, modern elegance, or cozy seasonal vibes, creating your own wreath is easier (and more fun!) than you might think. You don’t need fancy materials — just creativity, a few supplies, and a bit of imagination.
Gather Your Basic Supplies
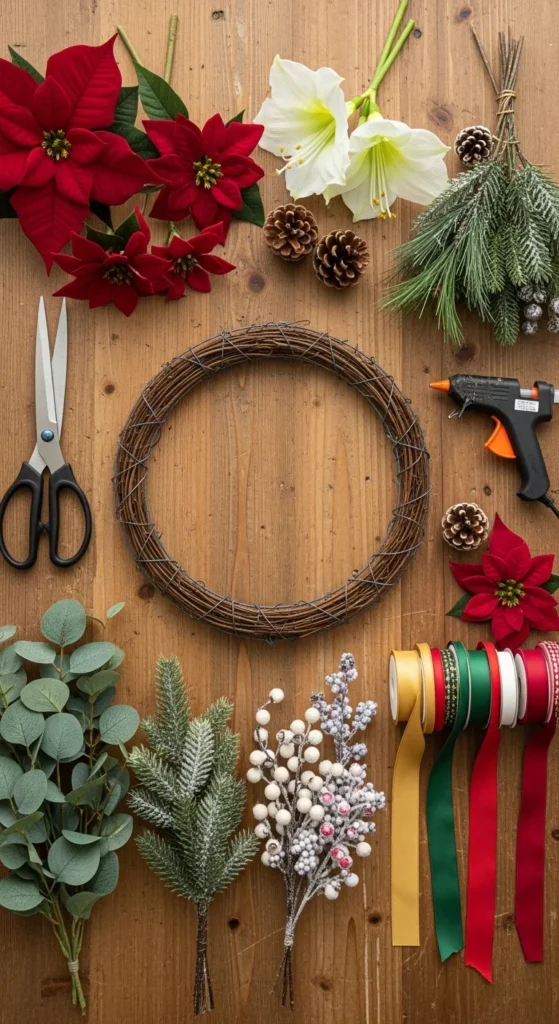
Before diving into design, let’s cover the essentials. You’ll need a few base materials that work for any type of wreath — spring, summer, fall, or winter.
- Wreath base: Choose from wire, foam, or grapevine. Grapevine gives a natural, rustic look, while wire allows for flexible designs.
- Floral wire and hot glue gun: To secure your decorations firmly.
- Greenery and filler: Think eucalyptus, ferns, ivy, or faux leaves.
- Seasonal accents: Flowers, ribbons, berries, pinecones — or anything that fits your theme.
- Scissors or wire cutters: For trimming materials to size.
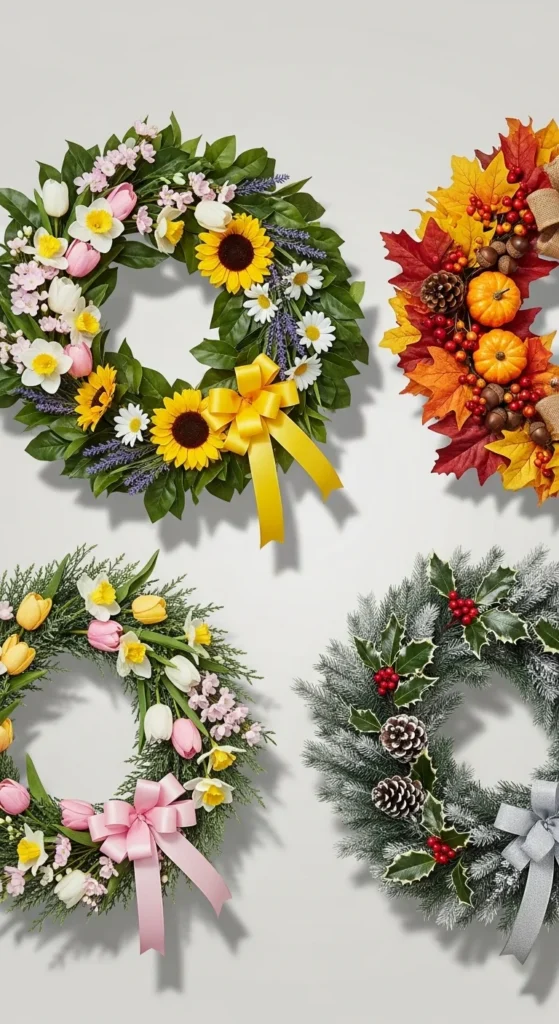
Step 1: Choose a Seasonal Theme
Each season brings its own colors, textures, and natural materials. Think about where your wreath will hang and the mood you want it to evoke.
Spring Wreath
Celebrate renewal and color. Use:
- Faux tulips, daffodils, or hydrangeas
- Soft pastel ribbons
- Light greenery like boxwood or eucalyptus
Summer Wreath
Go bright and beachy with:
- Seashells, starfish, or driftwood
- Vibrant flowers like sunflowers or peonies
- Burlap bows for a natural touch
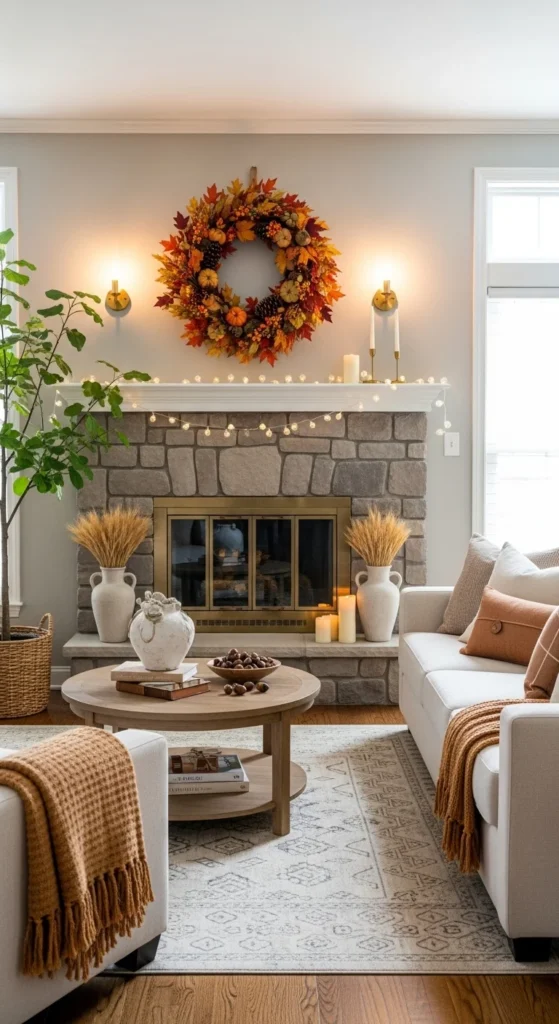
Fall Wreath
Warm and cozy designs shine here:
- Dried leaves, wheat, and mini pumpkins
- Plaid ribbons
- Deep reds, oranges, and browns
Winter Wreath
Classic and festive:
- Pine branches and holly berries
- Faux snow or white accents
- Red velvet or silver ribbon
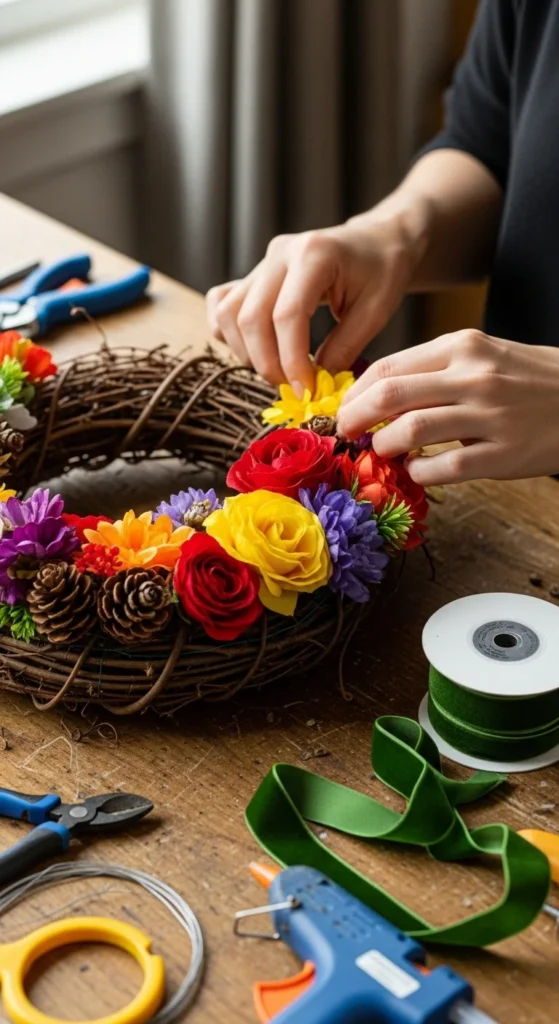
Step 2: Build Your Base Layer
Start by attaching greenery or filler to your wreath base. Wrap floral wire tightly to secure the stems, overlapping slightly to create fullness.
Pro Tip: Work in one direction — clockwise or counterclockwise — for a cohesive, natural flow.
If you’re using a grapevine base, you can simply tuck the stems into the branches and add a dab of glue for extra hold.
This layer forms the “body” of your wreath, so make sure it’s even all around. A lush base makes the rest of your decor pop!

Step 3: Add Focal Points and Accents
Now it’s time to bring your wreath to life! Choose three to five focal points and spread them evenly or cluster them on one side for a modern, asymmetrical style.
Try:
- Faux flowers in various sizes for depth
- Pinecones or dried fruit slices for texture
- Ribbons or bows for a polished finish
Don’t be afraid to mix materials — a little sparkle or metallic accent can make your design stand out beautifully.
Balance is key: Step back often to check the overall shape and adjust as needed.
Step 4: Secure and Perfect Your Design
Once everything looks right, secure all pieces with hot glue or additional floral wire. Make sure your wreath is sturdy enough to handle wind if you’re hanging it outdoors.
Give it a quick shake test — if anything wobbles, add extra glue or wire.
Finally, fluff up the greenery and ribbons for a full, natural look. Trim any excess stems or glue strings for a neat finish.
Step 5: Display Your Handmade Masterpiece
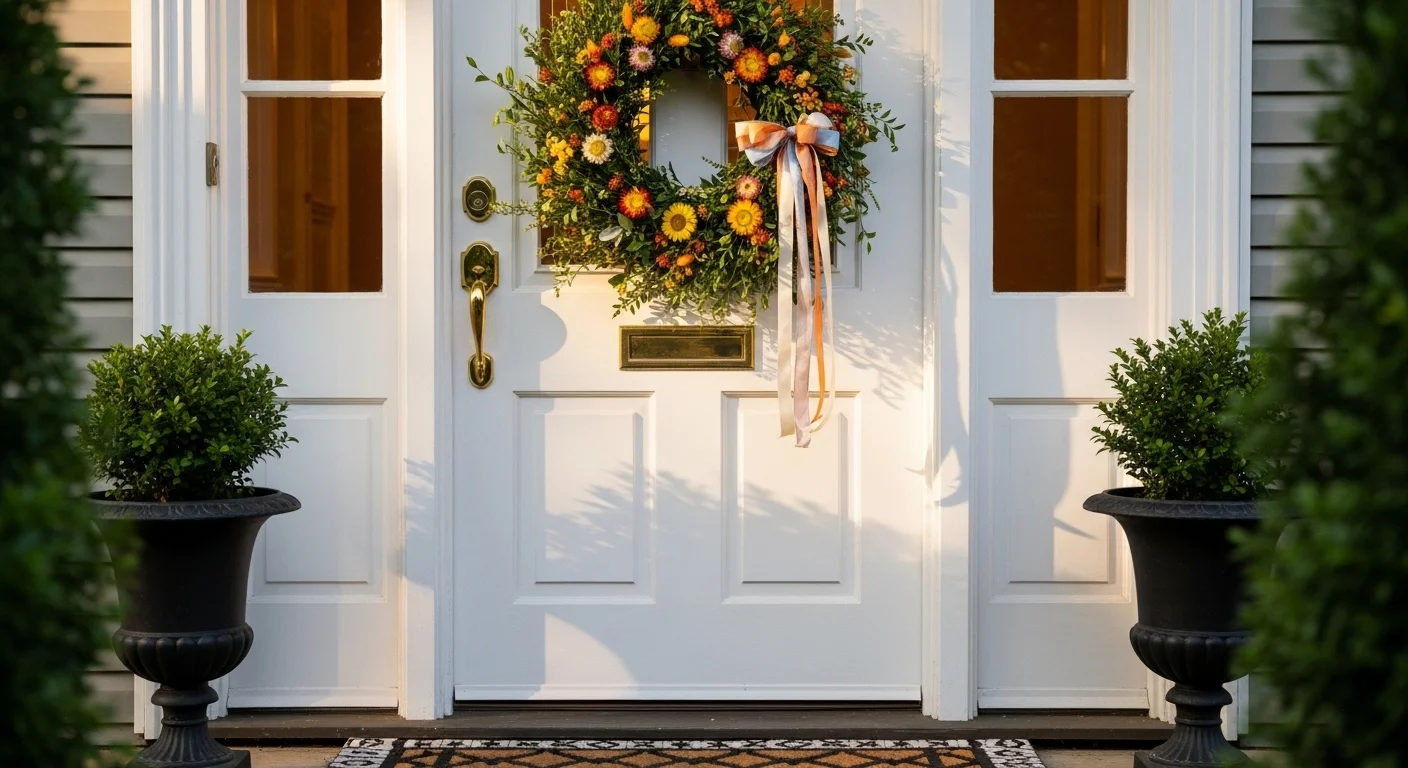
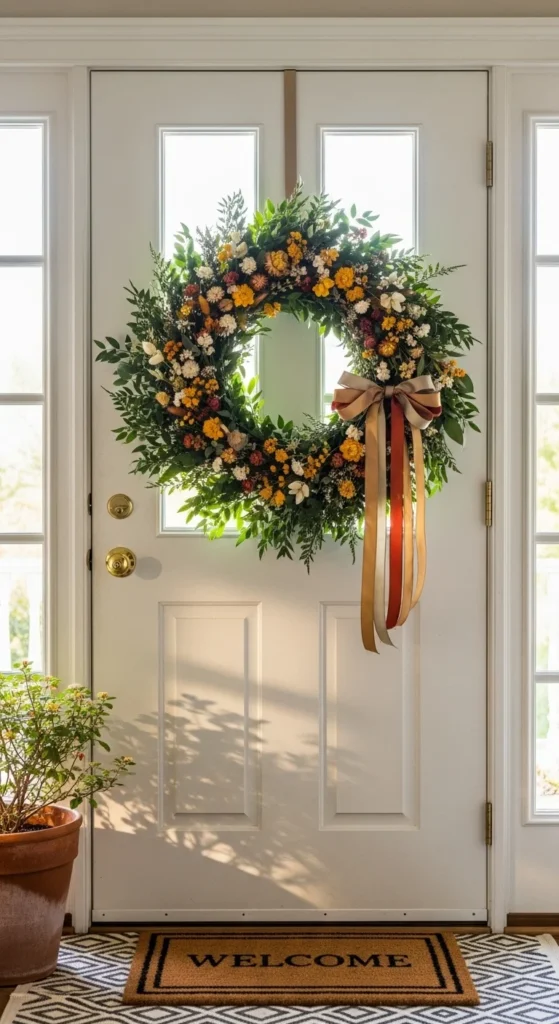
Now comes the best part — showing off your work!
- Front door: Welcome guests with a burst of seasonal charm.
- Above the fireplace: Perfect for holiday or winter themes.
- On interior walls: Adds a cozy, decorative touch to dining rooms or hallways.
- As a centerpiece: Lay it flat around candles or vases for a table arrangement.
Switch out accents throughout the year to refresh the look without starting over.
Quick Tips for Wreath-Making Success
- Start simple: A minimalist wreath with greenery and a single bow looks timeless.
- Mix faux and natural: Combine artificial florals with real dried elements for authentic texture.
- Go beyond flowers: Experiment with fabric scraps, ornaments, or even fruits.
- Protect your wreath: Spray a clear sealant if it’ll be exposed to sunlight or moisture.
Final Touch: Celebrate Your Creativity
Creating your own wreath is more than a craft — it’s a way to express your personality and celebrate each season in style. Every wreath you make tells a story, from spring freshness to cozy winter nights.
So grab your materials, put on some music, and let your creativity flow. You’ll be amazed at how a simple DIY project can make your home feel warm, inviting, and uniquely yours.
Save this guide for your next seasonal decor project and start crafting your own stunning wreath today!